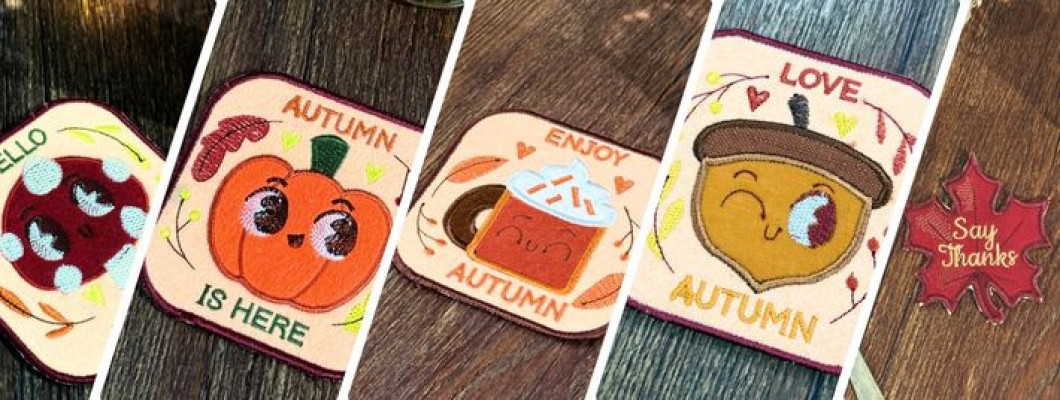
This In-the-Hoop Appliqué Coaster is the perfect little project to add warmth and charm to your embroidery routine. With a mix of soft fabrics and layered appliqué, you’ll create a cozy coaster that uplifts your fall vibes and spirit. Let’s make fun appliqué coasters!
Materials Needed
- Felt sheets (recommended) for base and backing
- Fabric or felt scraps for appliqué details
- Tear-away stabilizer
- Embroidery scissors
- Temporary spray adhesive
- Embroidery machine with hoop
- Matching threads
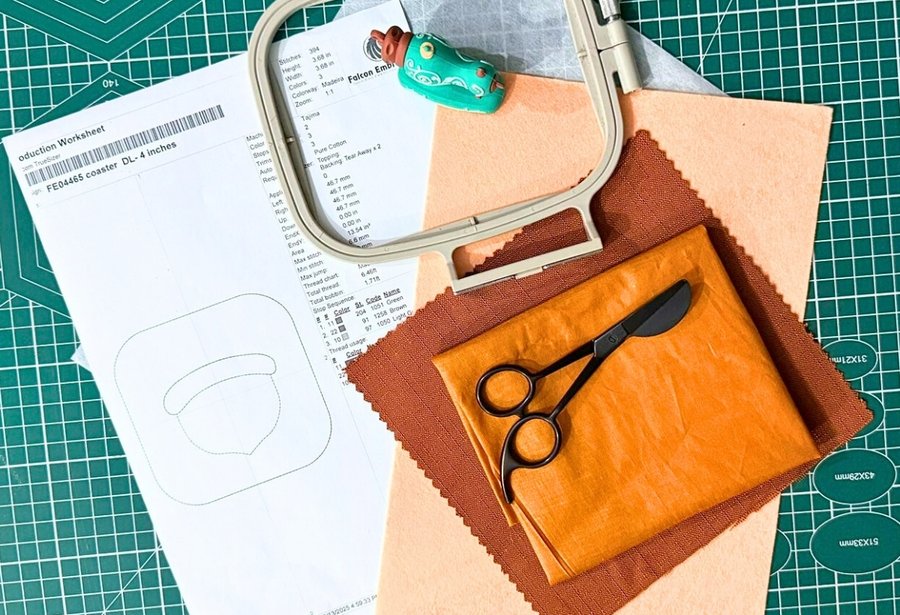
Gather Your Materials
Lay out all your fabrics, stabilizer, and tools. Choose felt colors that contrast nicely with your appliqué fabrics for a standout finish.
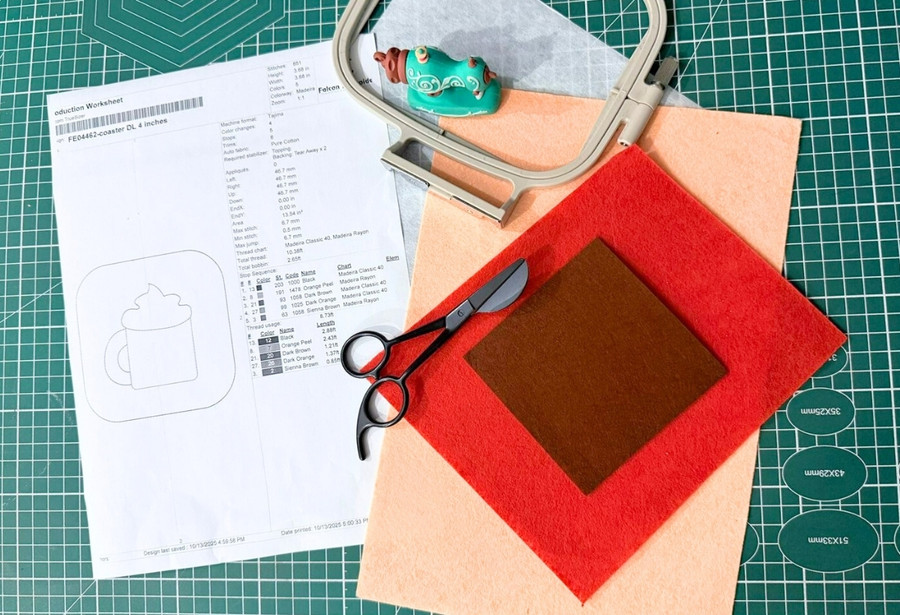
Cut Base, Backing and Appliqué Fabrics
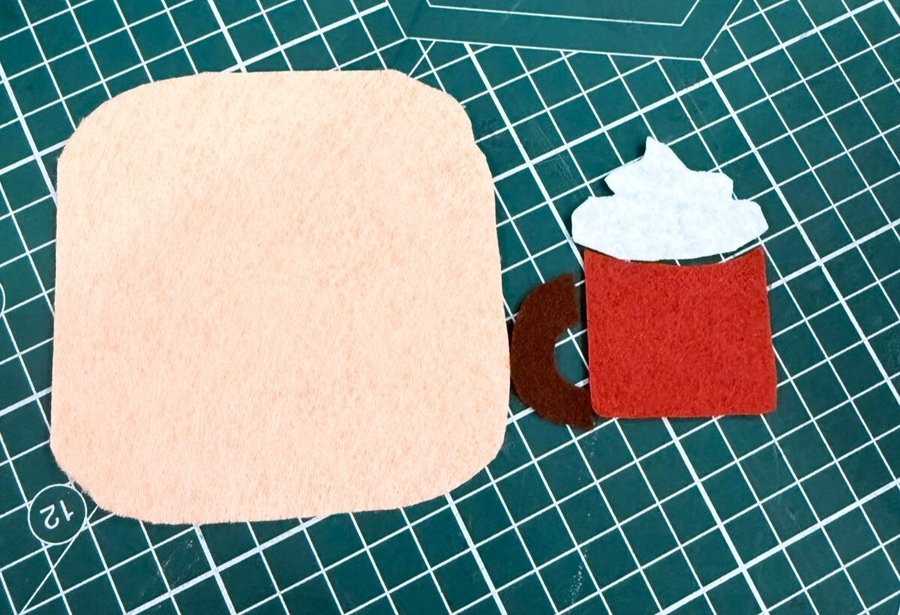
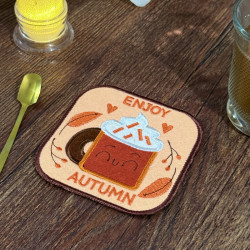
Print the dieline templates and cut out each appliqué piece — for example, in this tutorial: base, back, cup, handle, and whipped cream — using small embroidery scissors. Cutting neatly along the outlines ensures accurate placement later.
Hoop Stabilizer and Stitch Placement Lines
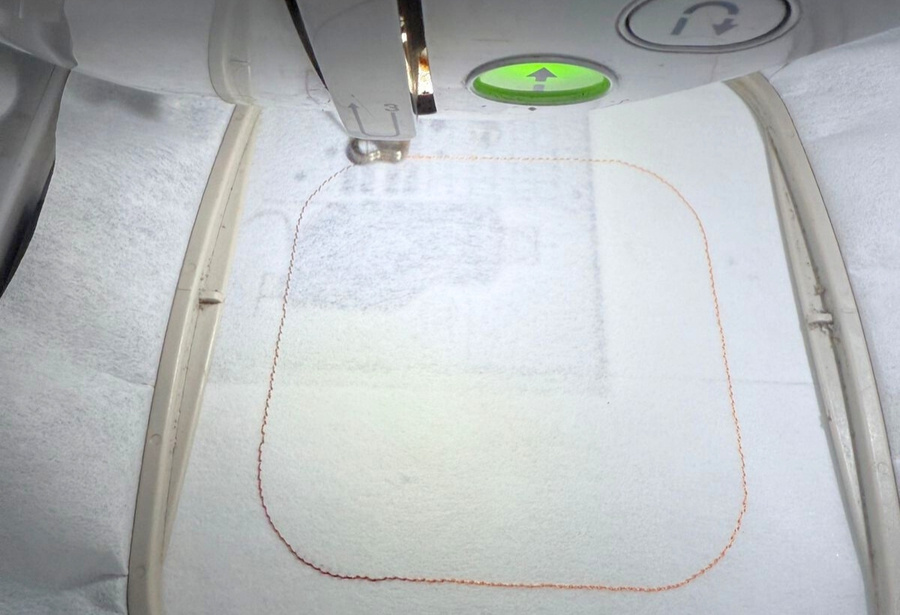
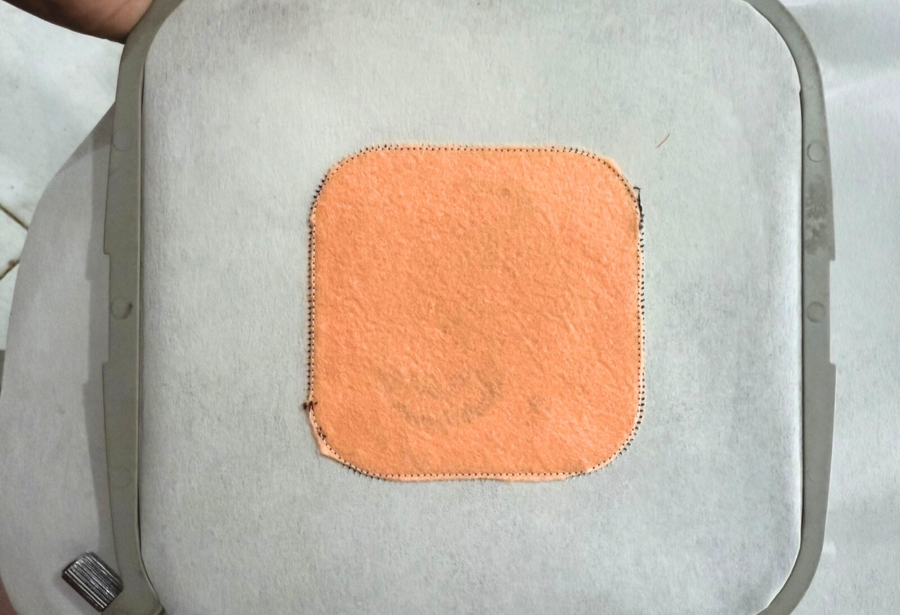
Hoop your tear-away stabilizer securely and run the placement stitch to mark the coaster’s shape. This shows exactly where to position your base felt.
Tack Down the Base Felt
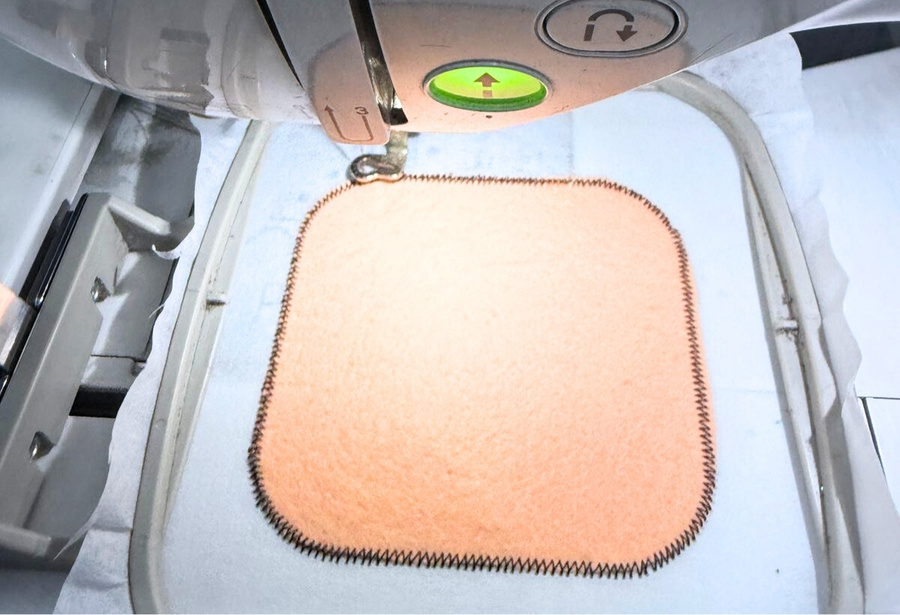
Place your base felt over the placement line and run the tack-down stitch. This secures the felt in place and forms a foundation for the appliqué layers.
Add Appliqué Layers According to the Placement/Die Line
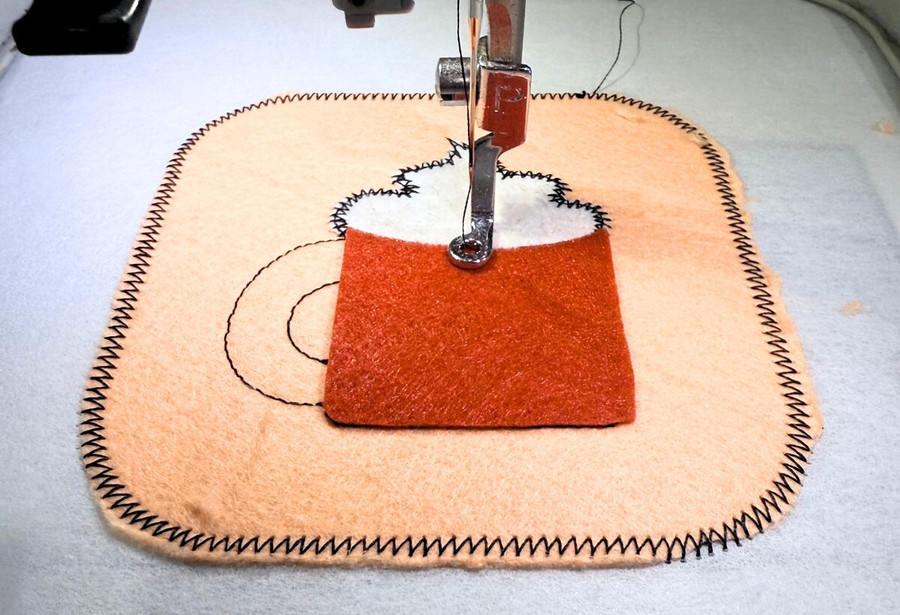
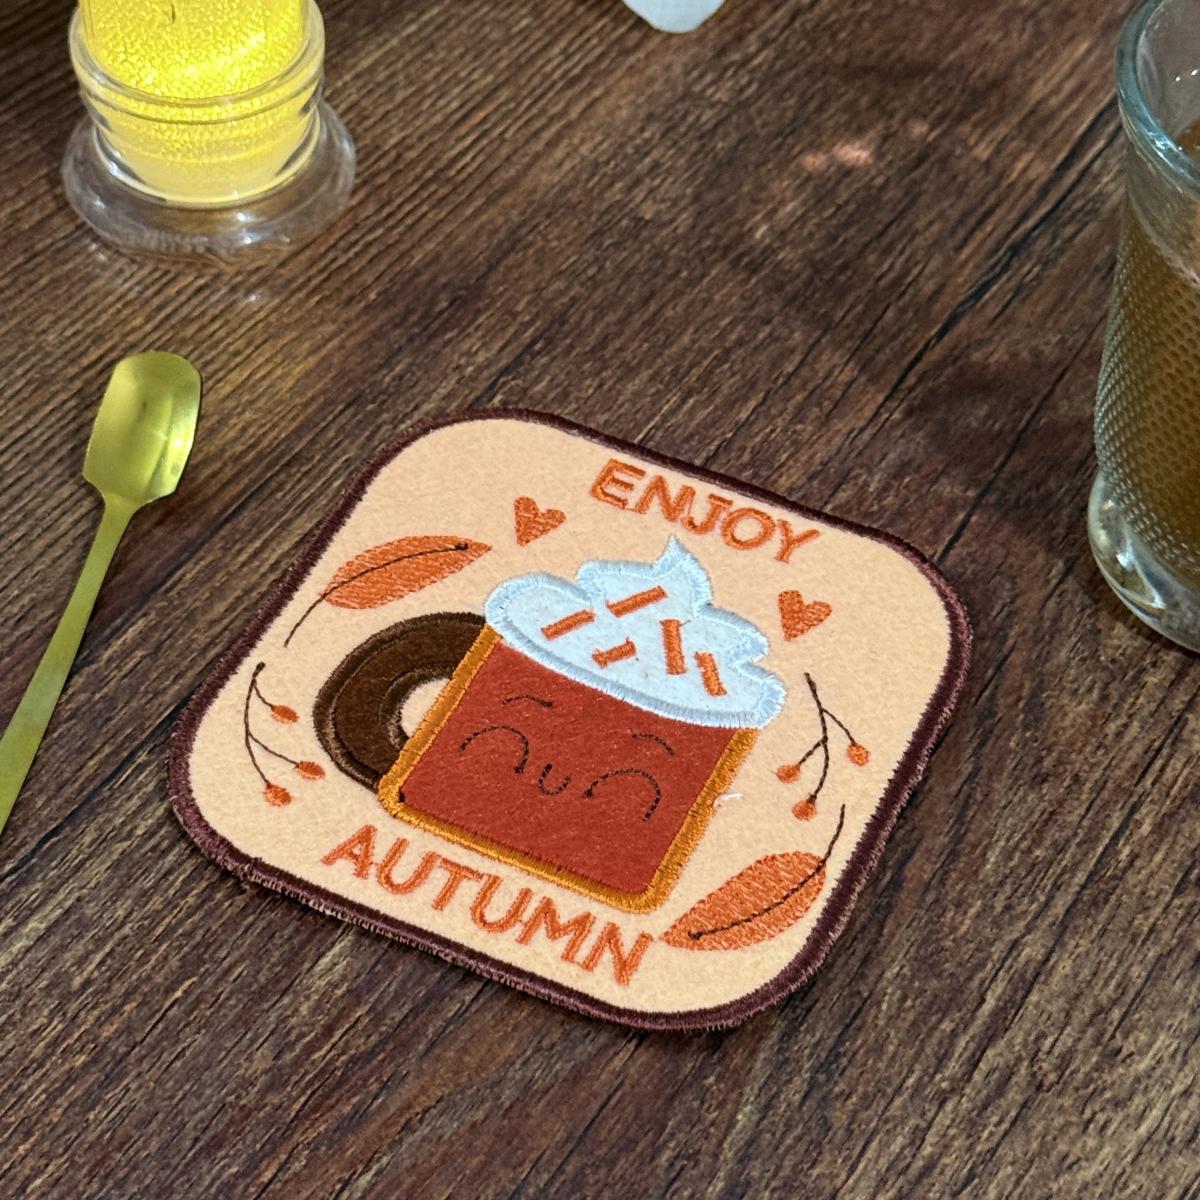
Following your machine’s color stops, add each fabric piece — for example, in this tutorial: first the cream top, then the mug base, and finally the handle. After each piece is tacked down, trim away excess fabric close to the stitch line (if visible) for clean edges.
Embroider Final Details
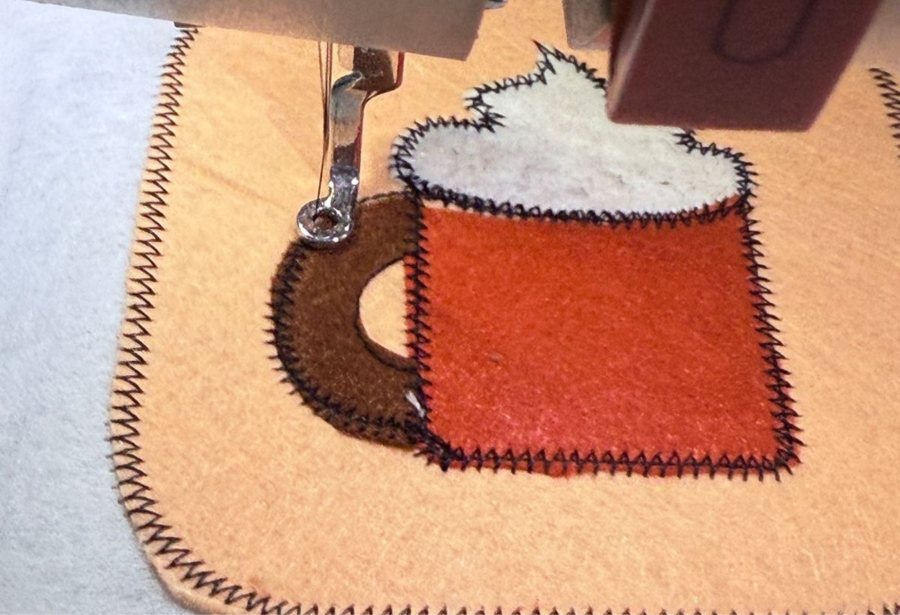
Let the machine complete the inner details and outlines. This step brings your appliqué design to life with beautiful satin and fill stitches.
Prepare and Attach the Backing
Remove the hoop, but do not unhoop your design. Lightly spray the back felt with temporary adhesive, place it behind the stabilizer, return to the machine, and run the final outline stitch to seal the coaster front and back together.
Finish and Clean Up
Carefully remove the coaster from the stabilizer and clean the edges with embroidery scissors or a craft knife for a neat finish. You can also add a ribbon loop if you’d like to hang it as a decoration.
Product Use Ideas
- Hot chocolate or coffee mug rests
- Holiday gift sets
- Party favors
- Seasonal home décor


-250x250.png)












Leave a Comment