28 Sep
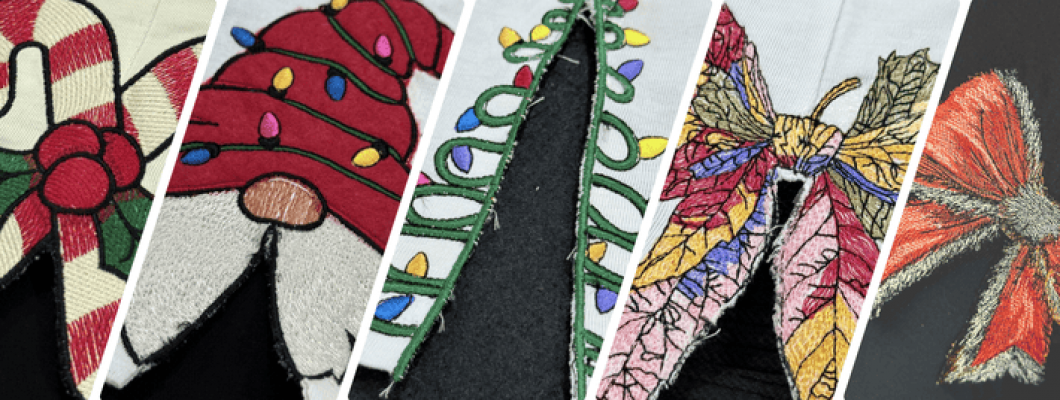

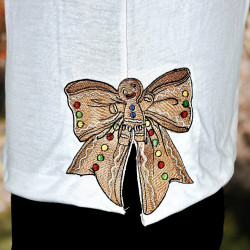
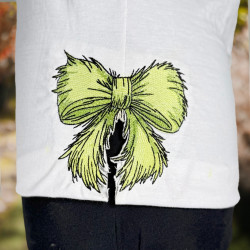
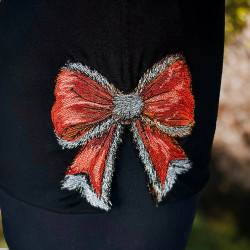
Ever see those awesome sweatshirts in stores with designs that look like they're perfectly wrapped around the sleeve cuff or bottom edge? Trying to stitch over a thick seam with an embroidery machine can be a total nightmare.
But there’s a secret trick called split seam appliqué. It sounds complicated, but it's actually pretty simple. You’re basically going to cut a small window in your clothing, place a cool fabric patch inside it, and then let the embroidery machine stitch it all together perfectly.
Materials Required:
- A garment (e.g., T-shirt, Sweatshirt, Sweater, etc)
- Embroidery thread
- Cotton or similar fabric for the applique
- Medium-to-heavy weight water-soluble stabilizer (e.g., Vilene or similar)
- Cutaway stabilizer
- Temporary spray adhesive
- Scissors (small/sharp)
- Needle (good quality, sharp sewing/embroidery needle, size 75/11)
- Fabric marking tool (optional)
- Fabric clips or similar (optional)
- Design files: a “split seam embroidery design” plus “dieline” files (DL), which act as templates/cut lines.
Procedure - Let's start Embroider Step by Step
Step 1: Prepare the design and the applique piece
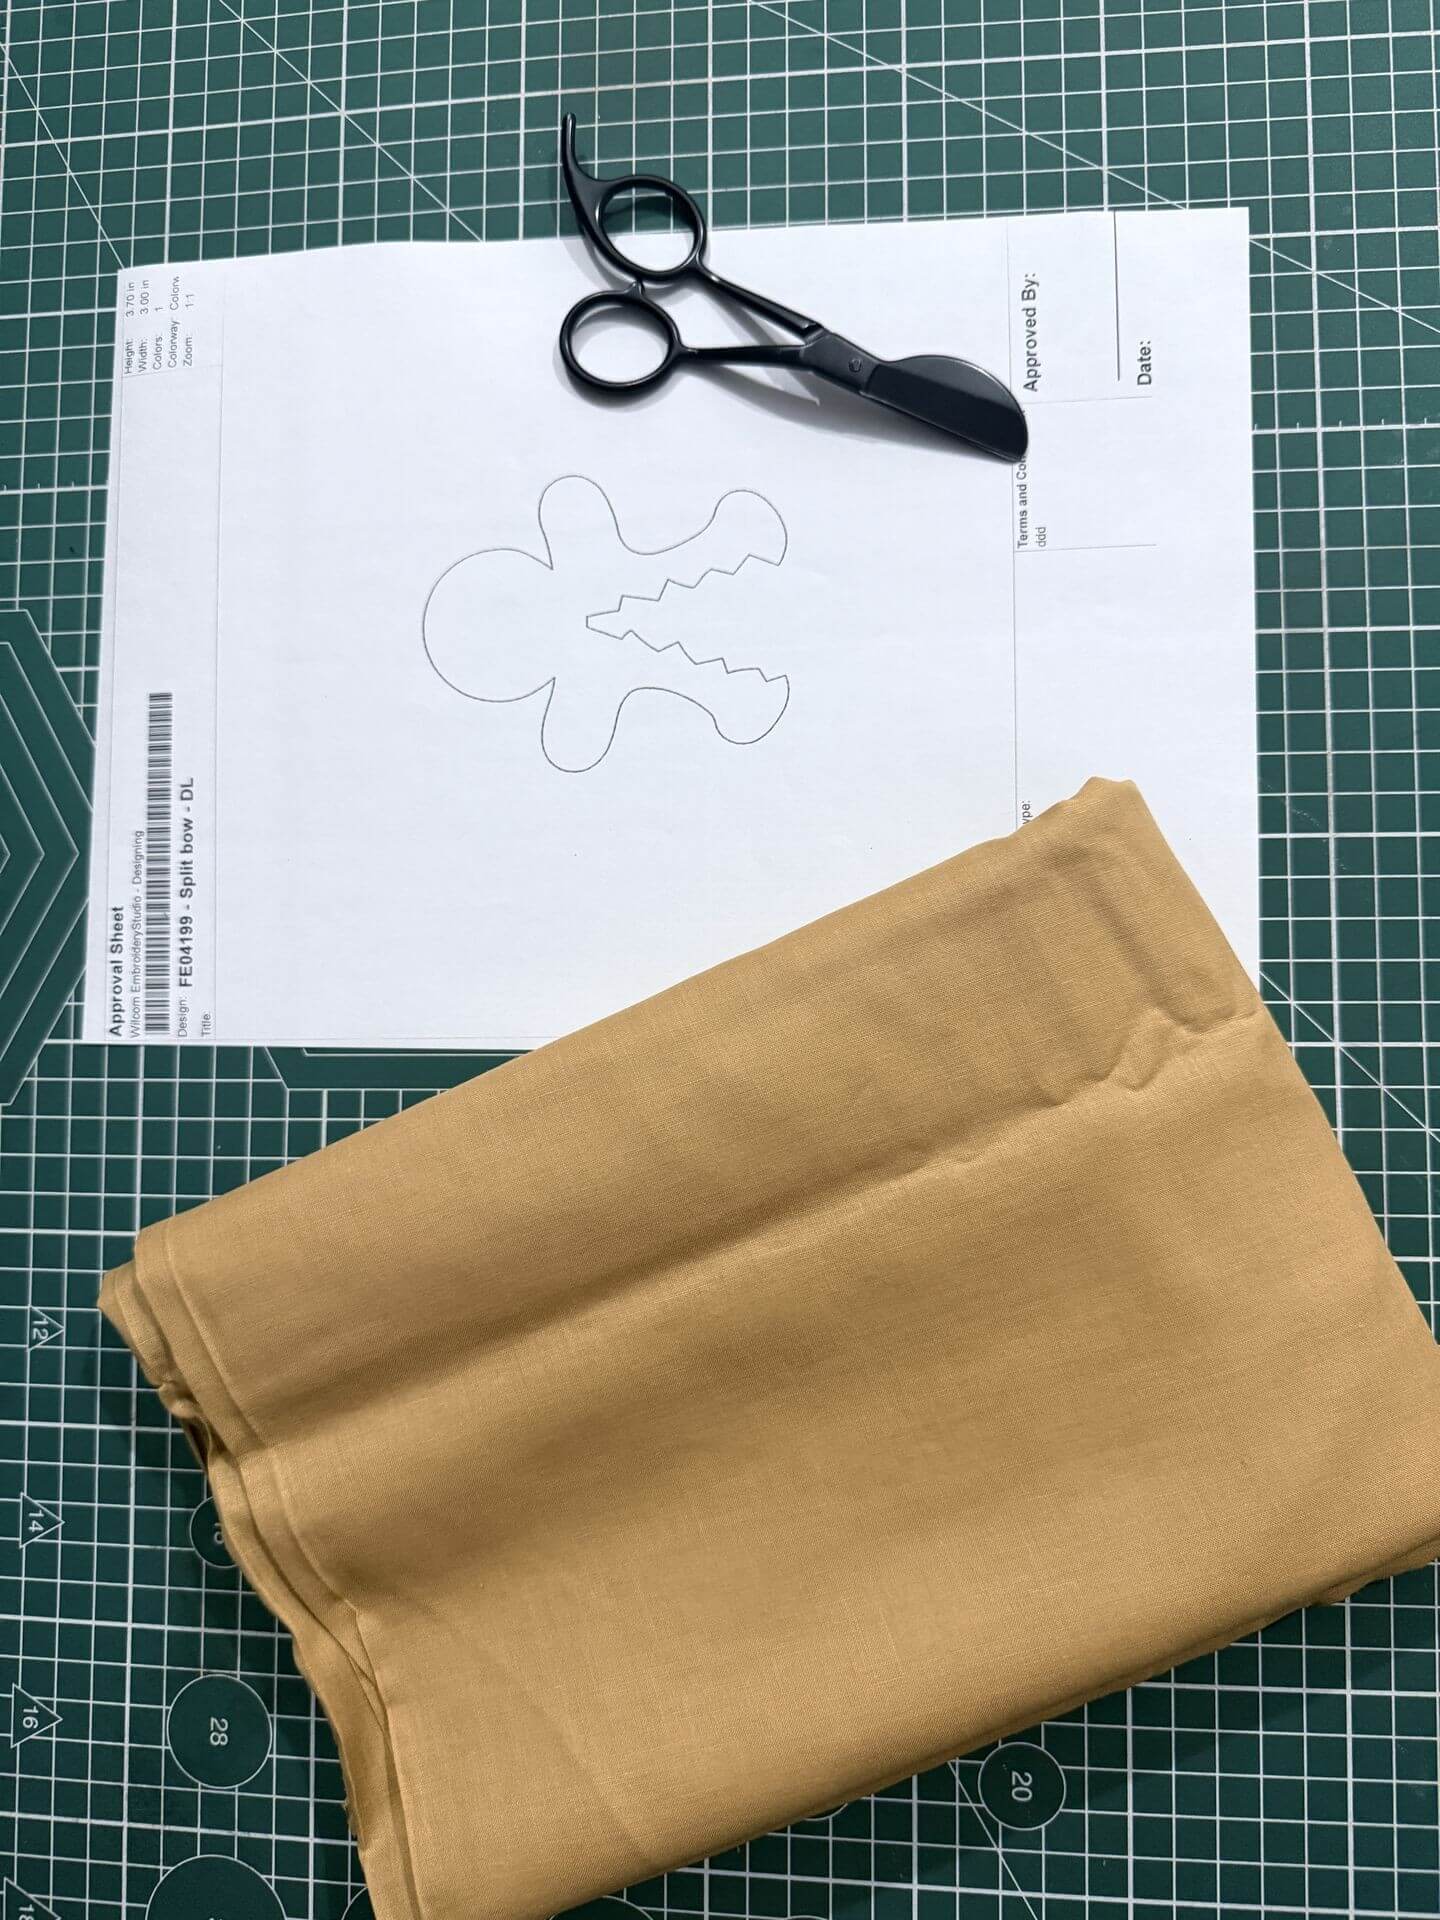
- Print the dieline (template) from the design files. This can help you with pre-cutting your fabric, or you can do that after running the die line on the garment with fabric on.
- Spray adhesive on the paper dieline and adhere to the right side of the fabric.
- Spray temporary adhesive on the stabilizer. Adhere the stabilizer to the wrong side of the applique fabric.• Print the die-line (DL) files
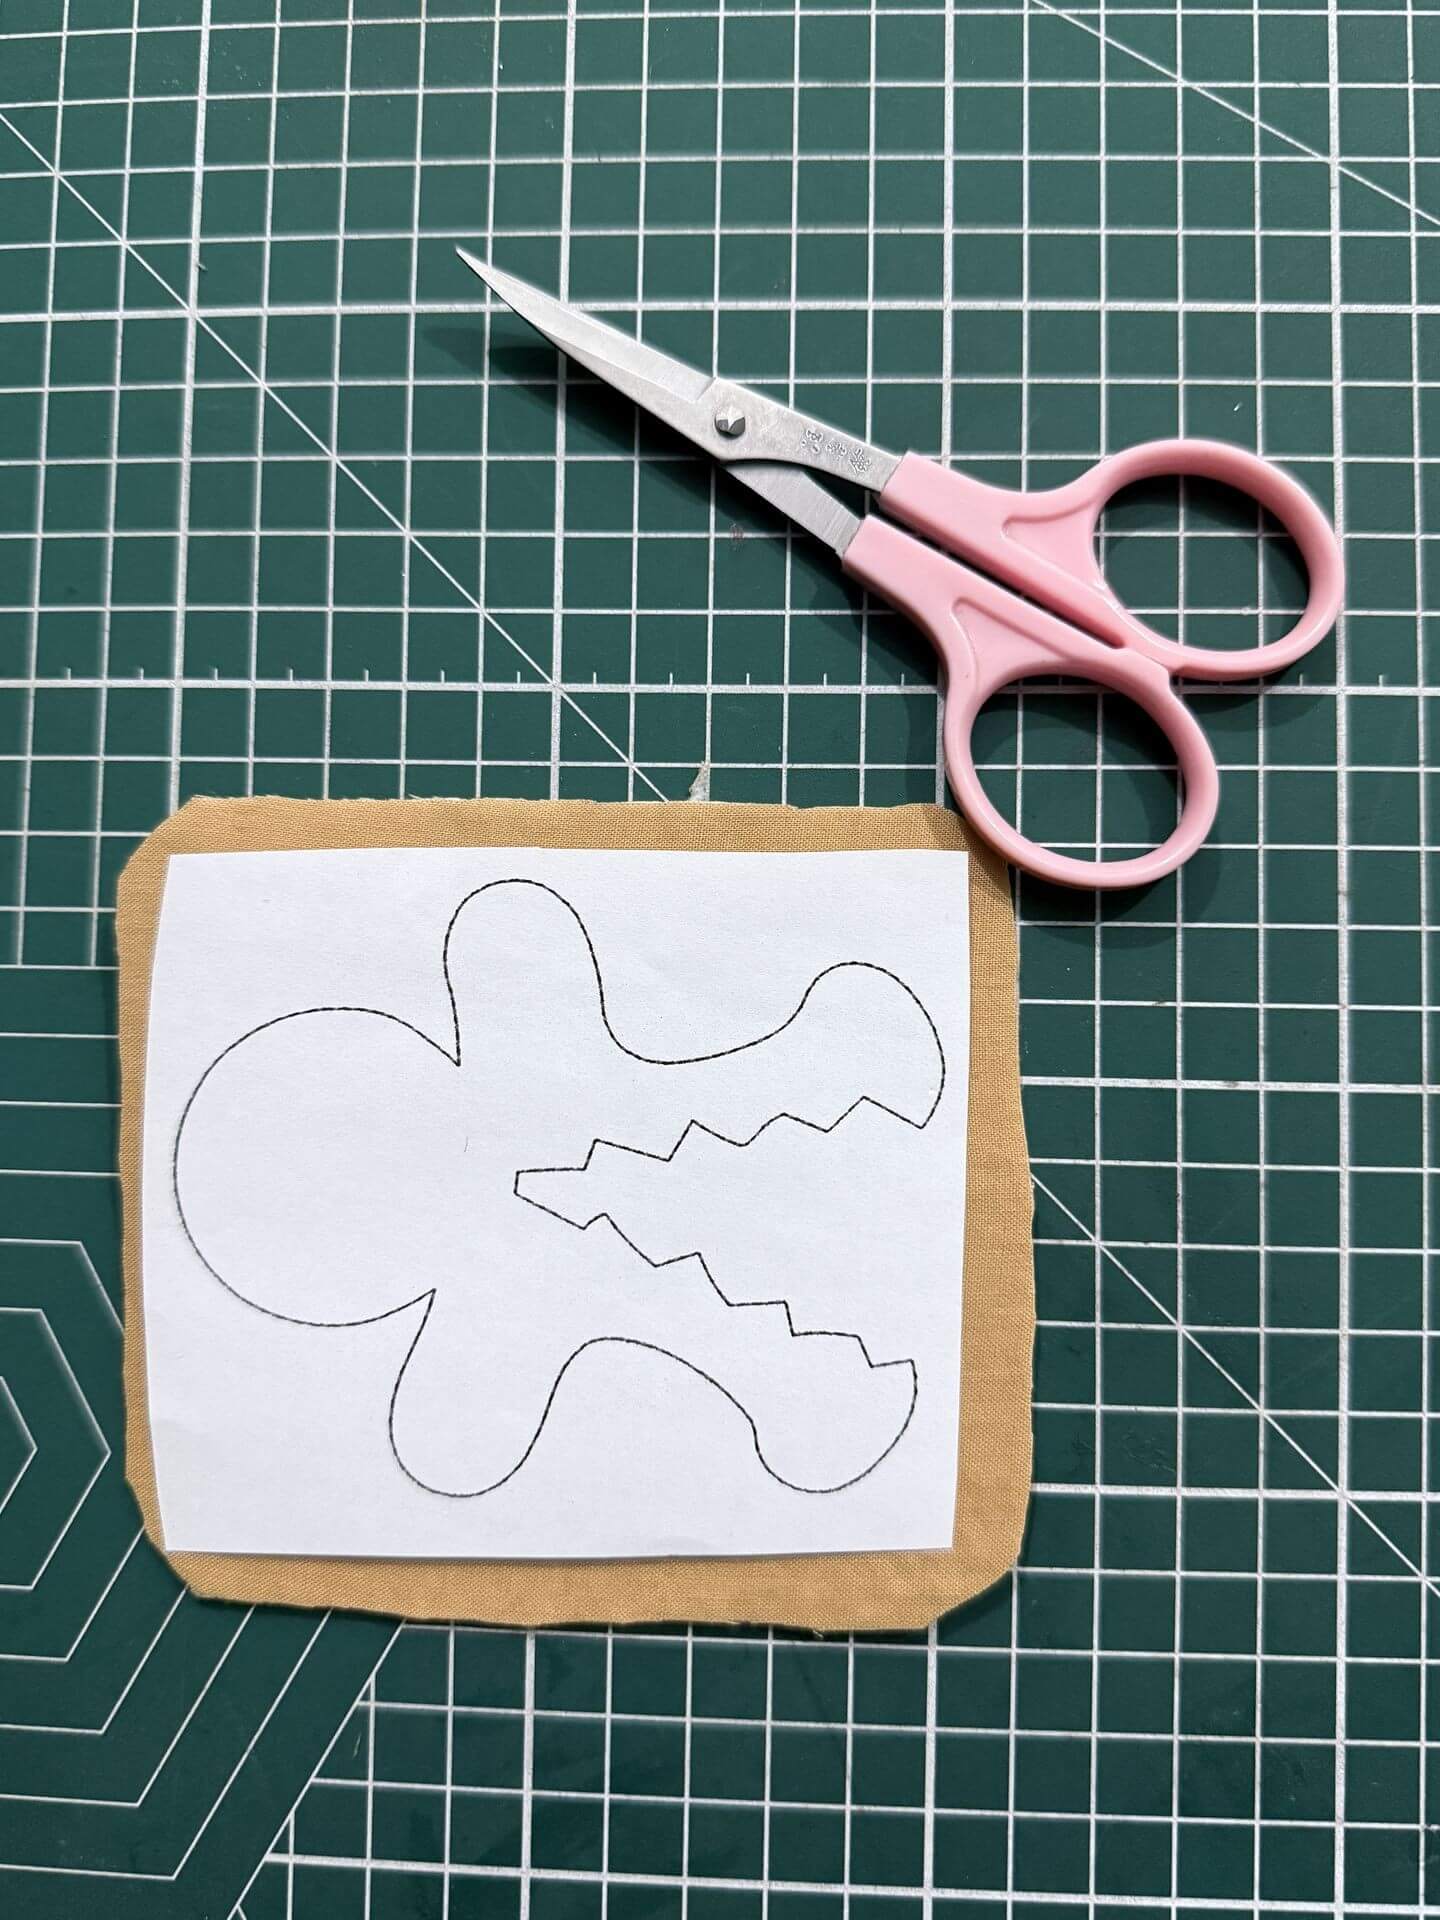
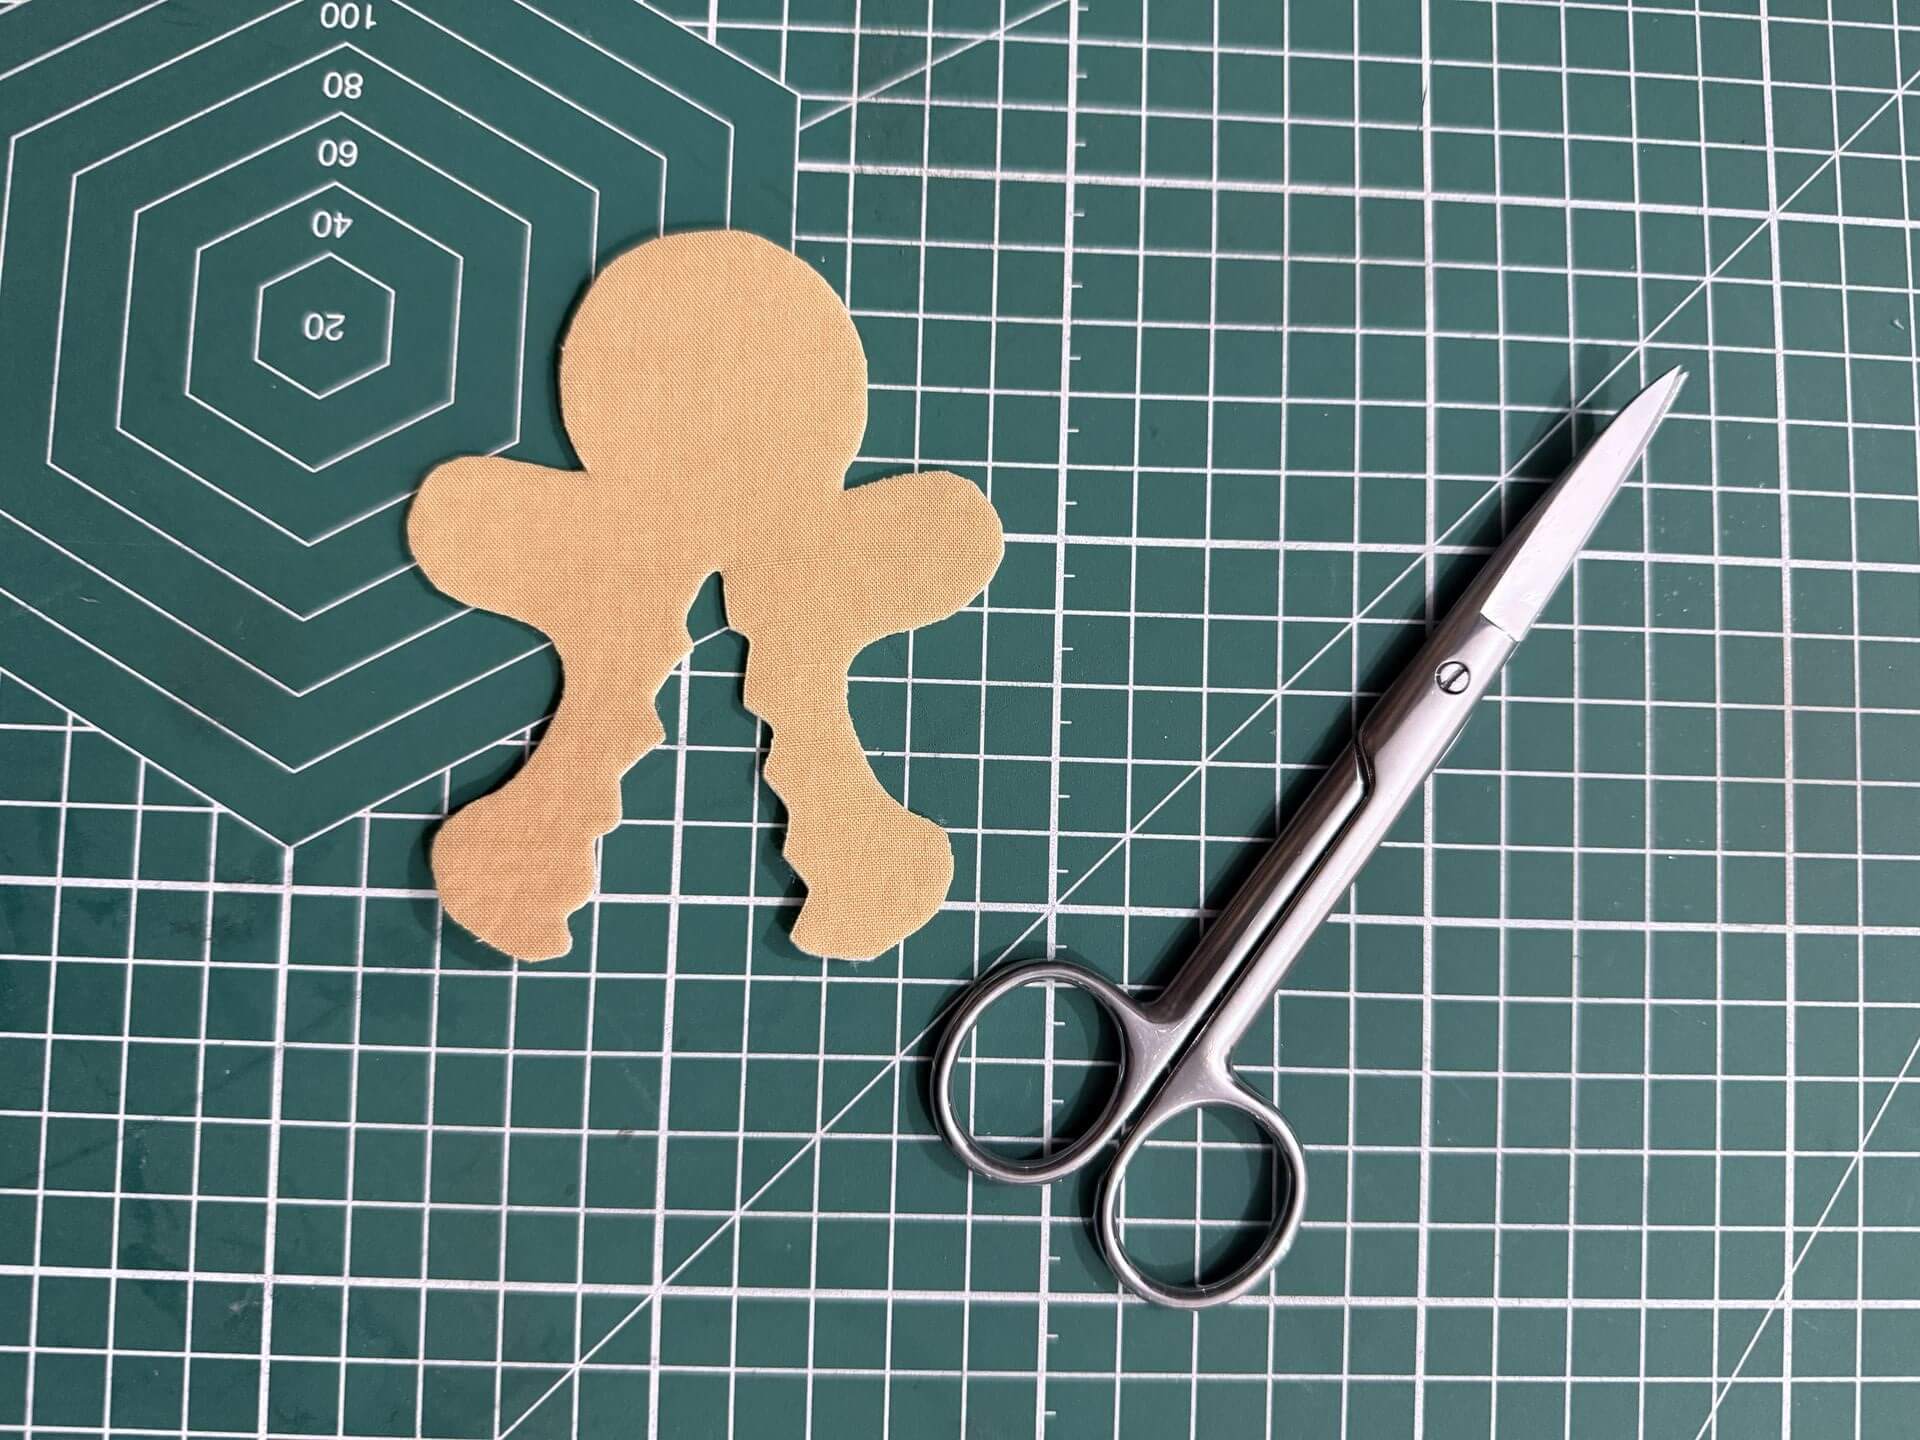
Cut out along the dieline from the fabric + stabilizer layers. Remove the paper dieline.
Step 2: Hooping stabilizer & initial embroidery
- Hoop the water-soluble ( you can also use medium cutaway or two layers of tearaway) stabilizer tightly, no wrinkles.
- Load the embroidery file (not the dieline) and stitch the “edge and seam placement lines.” These guides show where the garment’s seam should align (vertical line) and the bottom hem or edge (horizontal line).
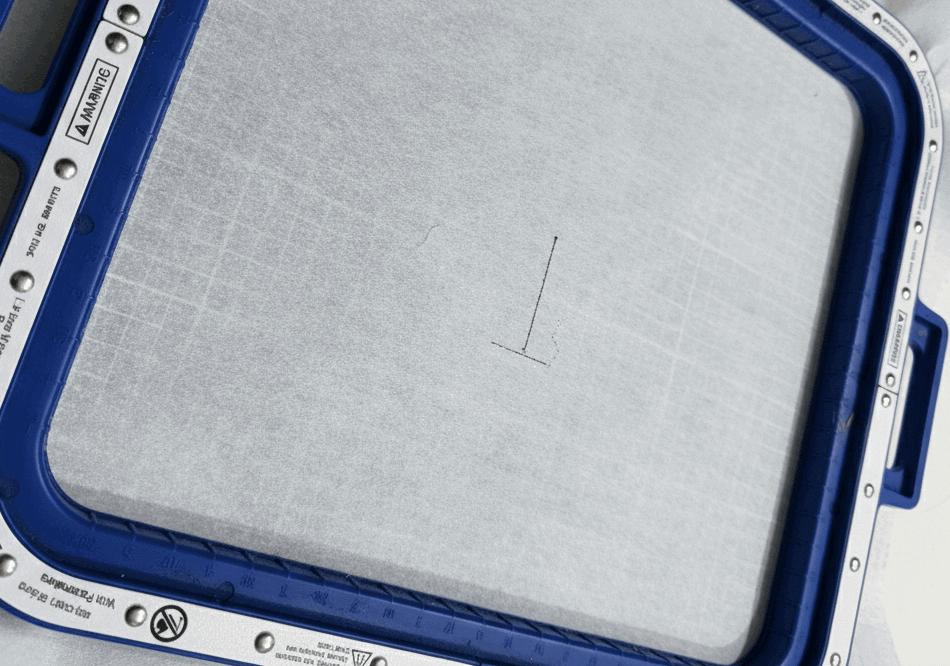
Step 3: Positioning the garment
- Remove hoop (but keep stabilizer in hoop).
- Spray the garment with temporary adhesive and align it over the placement lines (match seam to vertical placement line; bottom edge to horizontal).• Remove the hoop from the machine (do not unhoop your stabilizer).
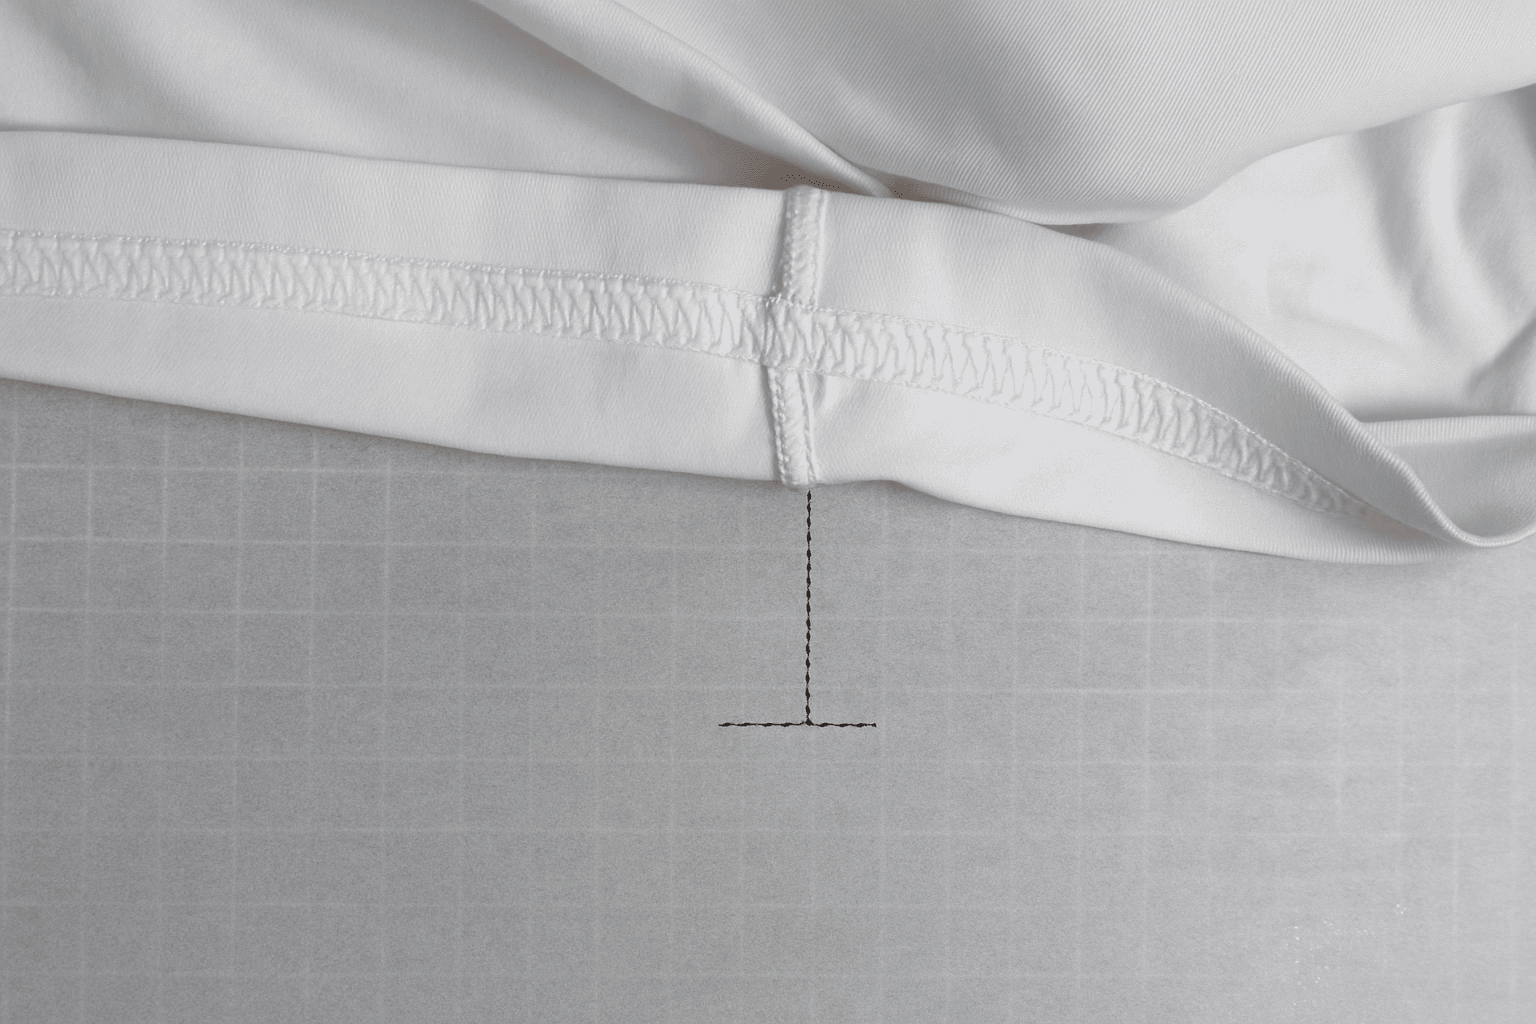
Optionally, baste around edges to prevent shifting; use clips if the fabric is large or bulky.
Step 4: Cutting the split
- Put the hoop back on the machine; the embroidery will stitch the “cutline.”
- Remove hoop, carefully cut along the inner edge of the cutline. Be cautious not to cut the stabilizer (only the garment fabric).
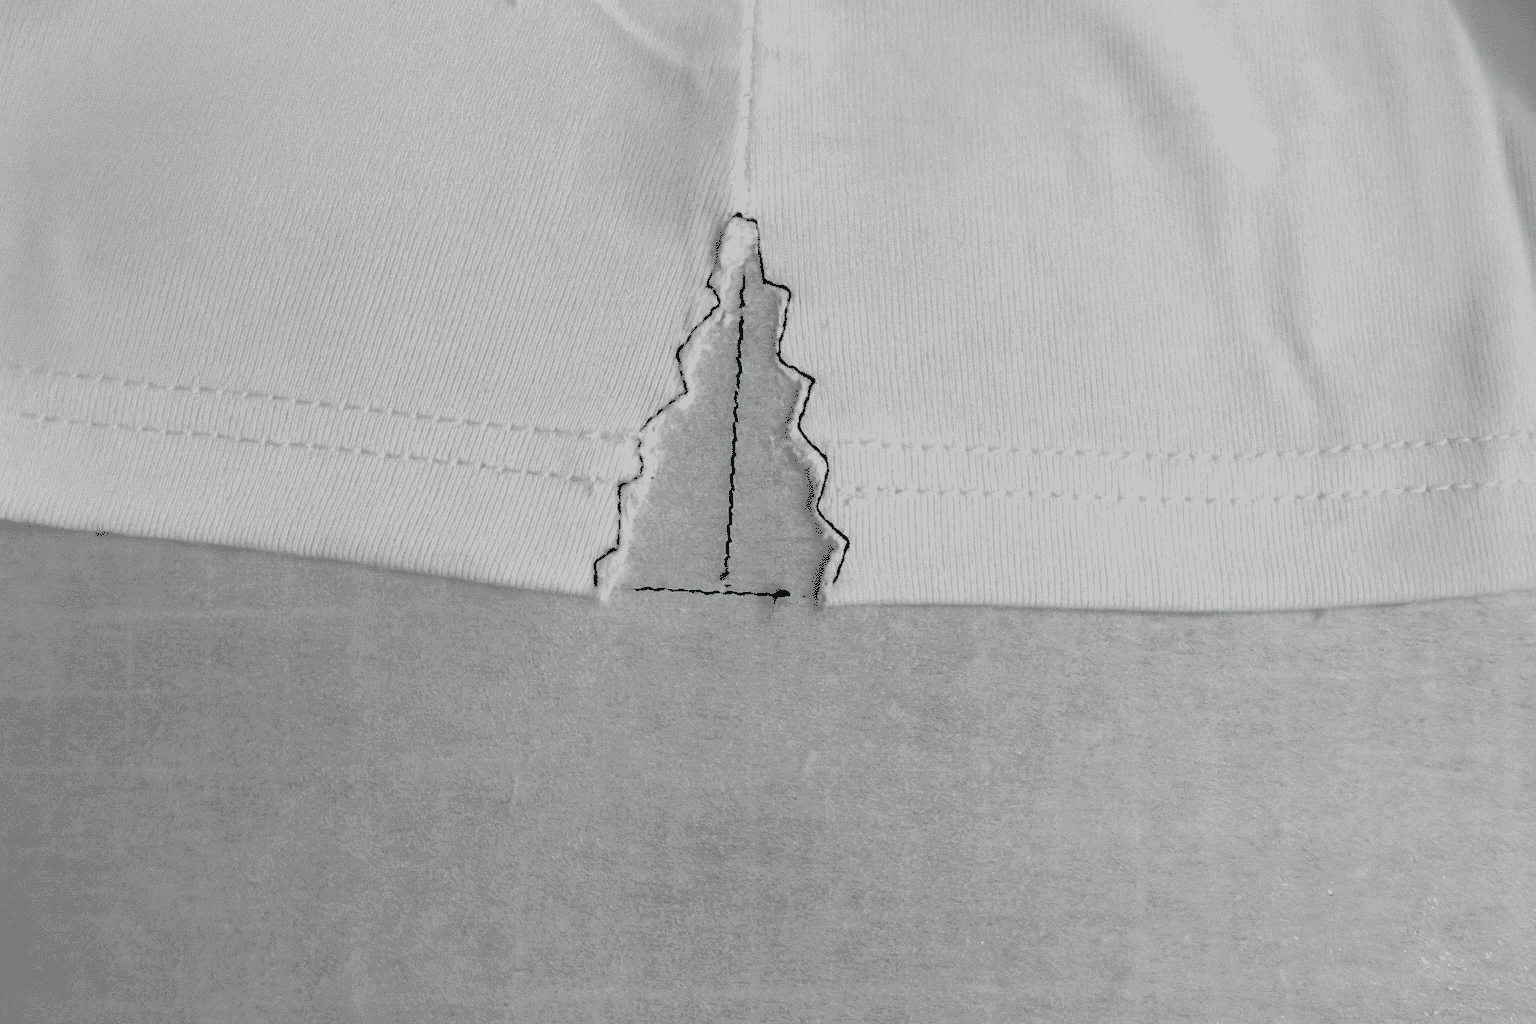
Step 5: Adding the applique
- After cutting, resume embroidery: the design continues until the dieline (outline) is stitched.
- Remove the hoop, spray the back of your applique piece with adhesive, and place it inside the dieline opening.
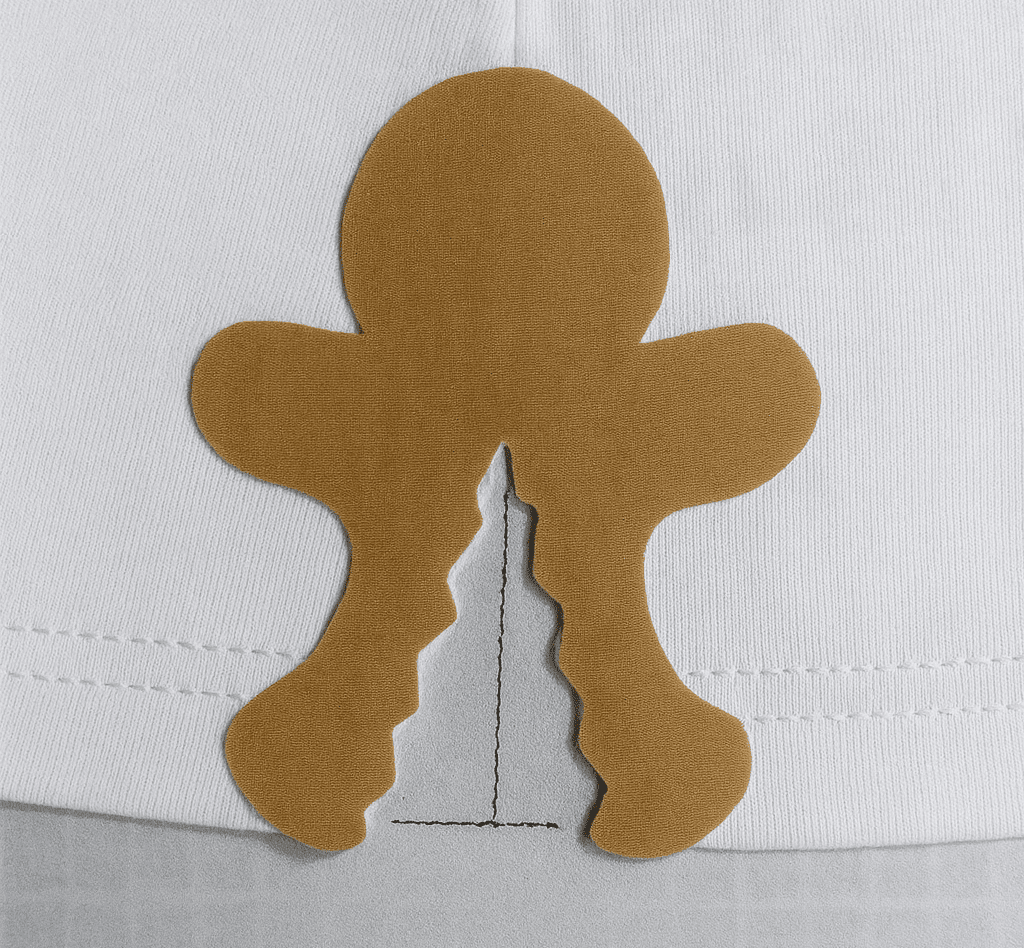
Tack down the applique via embroidery stitches.
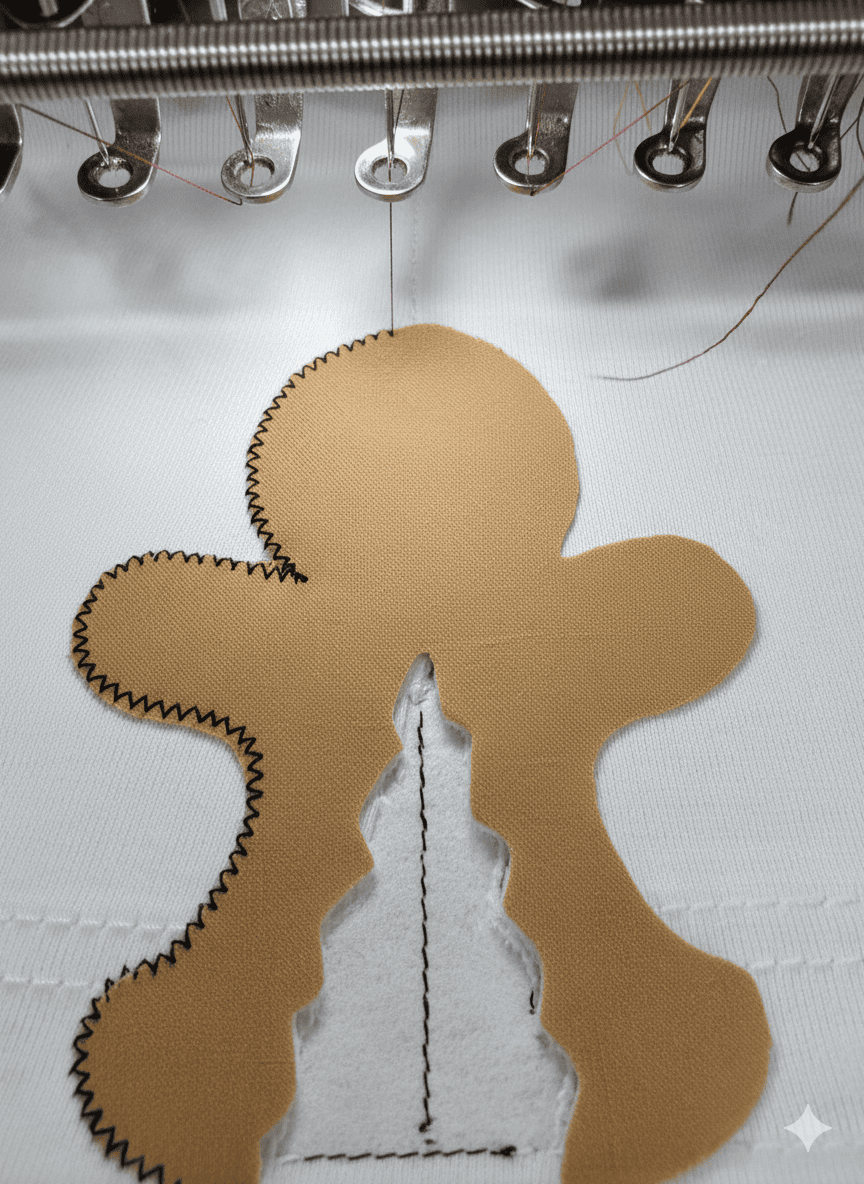
Step 6: Finish embroidery
- Continue with the rest of the design (color changes, details).
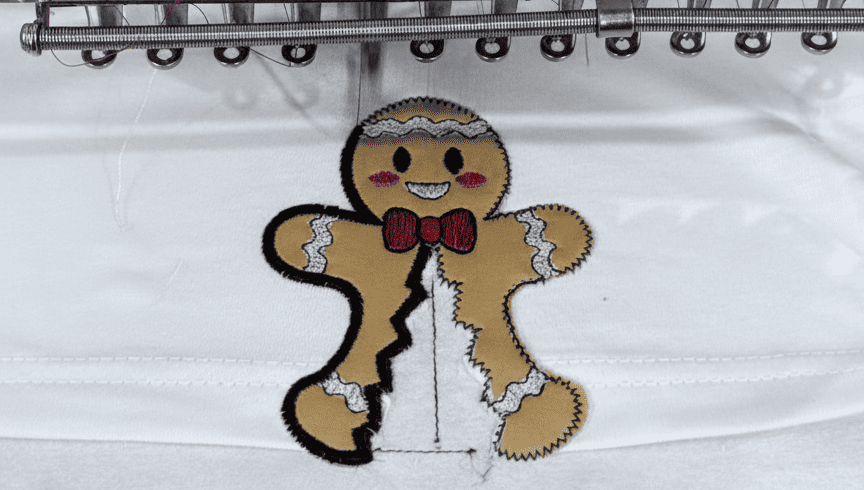
Once done, trim away excess stabilizer. Be careful not to cut the embroidery or garment.
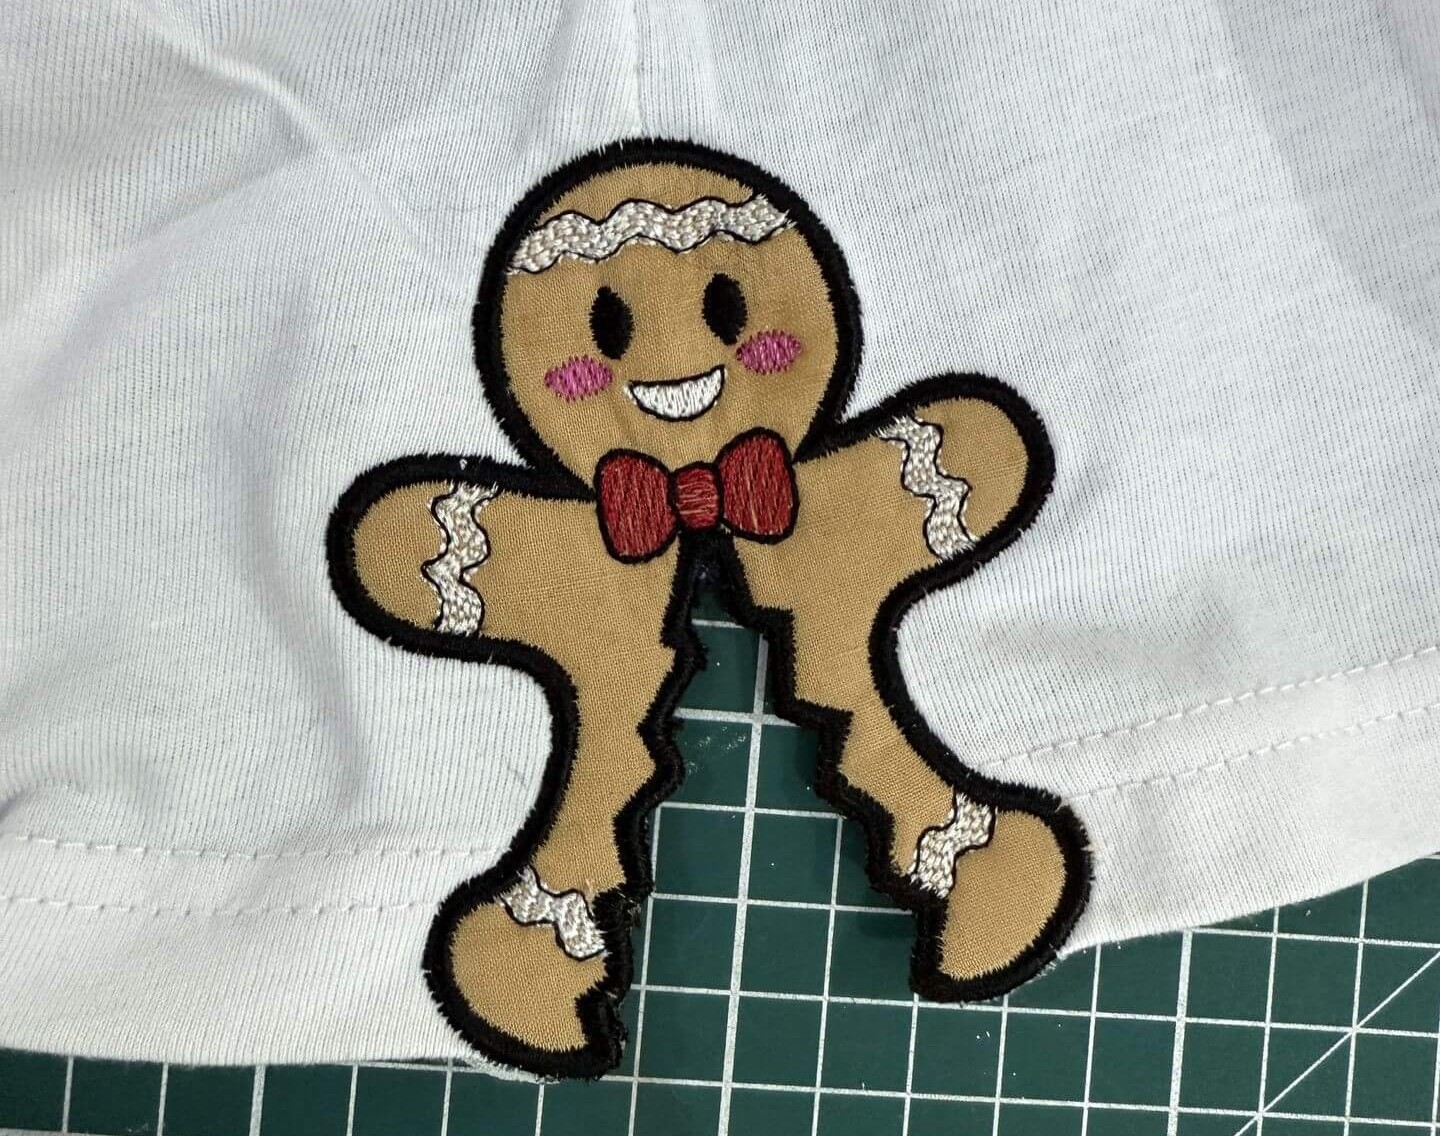
Additional Tips
- Use a sharp needle to minimize large holes or tearing in the stabilizer
- Ensure stabilizer is taut when hooped.
- Use a temporary adhesive so you can reposition and hold things in place.
- Be precise when cutting the garment at the cutline.
- If your garment is bulky (like a sweatshirt), roll extra fabric away and secure with clips so it doesn’t shift.
Have Fun Sewing & Embroidering!




-250x250.png)









Leave a Comment