02 Aug
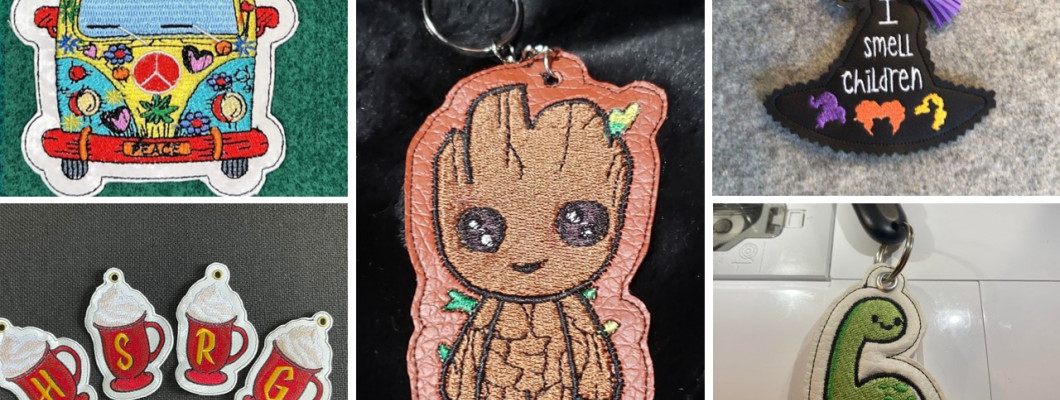

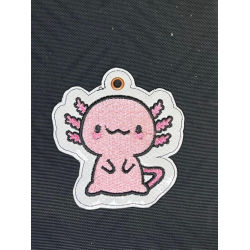
Embroidered Key fobs are cute, right? In recent years, key fobs have seen their rise in the machine embroidery world! Since many embroiderers out there want to learn how to make embroidered key fobs, we thought, let’s do something to guide them!
These are some tools that you should have before starting out on embroidered key fobs:
• Adhesive Spray
• Scrap of Fabric
• Pliers
• Tearaway Stabilizer
Let’s Get Started
Step 1:
Cut a piece of your tearaway stabilizer and make sure it fits in your embroidery hoop.
Step 2:
Now you may want to cover the stitched outline on your stabilizer with a piece of vinyl. Make sure the part you cut of vinyl is large enough.
Step 3:
Hoop your embroidery machine and start stitching your design according to its steps.
Step 4:
Now remove the hoop from your machine and check the back of the design.
Step 5:
You will now need tape and a second piece of vinyl to cover all the stitched lines on the back then, you will have to tape the vinyl carefully because you may not want the sticky part of the tape exposed on the bottom and rubbing on your machine which could impact its stitching quality!
Embroidered Key Fobs can be a great gift to your friends and loved ones. Also, it can be a fantastic addition to your embroidered craft; you can put it on the bag, your pouch, or anywhere you like because it can be a great way to define your interests!



-250x250.png)












-250x250.png)

-1-250x250h.png)
-250x250h.png)
Leave a Comment