12 Aug
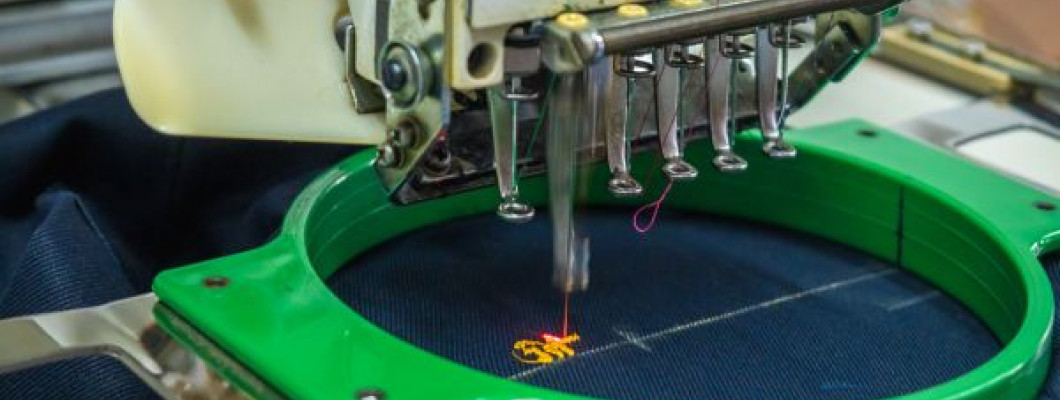

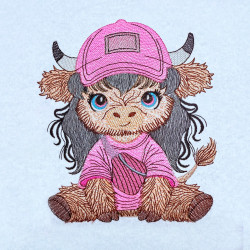
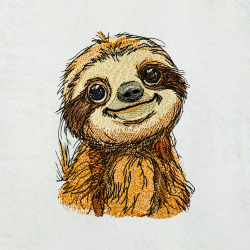
Reference Designs: FE03434 / FE03433 / FE03435
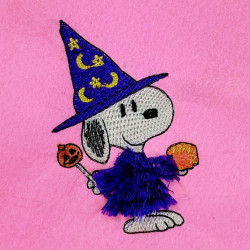
Do you know you can add unique texture to projects with specially digitized fringe embroidery designs? If you don't know where to start. This is the place! I am going to cover two fringing styles today: A Loopy Fringe and Cut/Fuzzy Fringe.
Project Needs
• Fringe embroidery design file (we've got a few! use the reference codes to search up on our website or type in "fringe" in the search bar)
• Medium-weight (2.5 ounce) cutaway stabilizer (Essential: Do not use tear-away or water-soluble stabilizer for fringe designs)
• Fabric or item to be embroidered
• Small scissors
• Tweezers
General Preparation:
Just hoop your fabric with cutaway stabilizer. Embroider the fringe design as you would any other design.
A. Loopy Fringe Style:
- Turn over the Project: After embroidery, turn the project over to the back.
- Isolate Bobbin Threads: For each satin stitch column designated for fringe, carefully cut the last bobbin stitch at one end of the satin row and cut the last bobbin stitch at the other end of the same satin row.
- Create Loop: Using tweezers, gently pinch the bobbin thread from the middle of that satin row and pull it straight up, away from the fabric. This forms the loop.
- Repeat: Continue for all loopy fringe areas.
- Fluff: Turn the project to the right side and use the point of small scissors to fluff the loops.
B. Cut and Fuzzy Fringe:
- Turn over the Project: After embroidering, turn the project over to the back.
- Cut Top Stitches: For each satin stitch column intended for cut fringe, carefully cut through the outer edge of the top stitches.
- Fluff: Turn the project to the right side and use the point of small scissors to fluff the cut threads, creating a fuzzy texture.
Tip: Use this technique to add realistic details like furry manes or bushy tails.
Happy Sewing & Embroidering!


-250x250.png)

















Leave a Comment