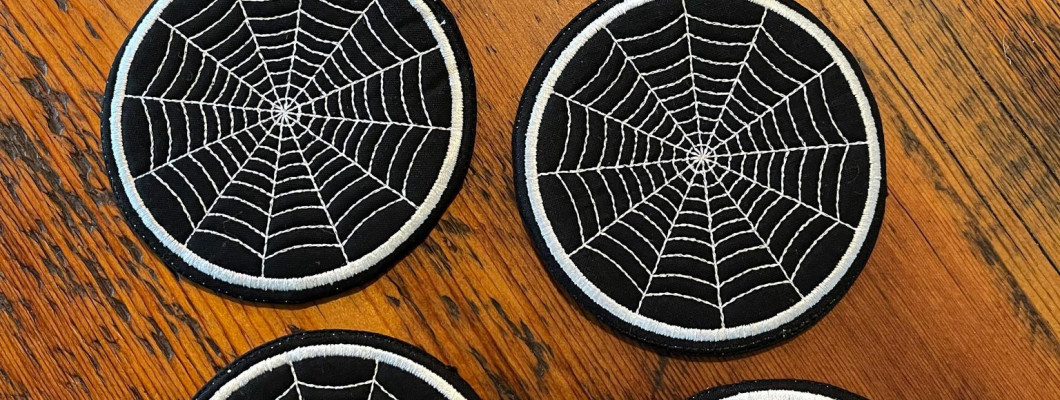
Learn how to create your own charming coasters with unique designs
that reflect your personal style or seasonal themes! These little creations can
be made entirely in the hoop with embroidered embellishments. We will guide you
through the step-by-step process.
Supplies:
·
Small pieces of Fabric; cotton,
felt, twill, or linen
·
Embroidery thread
·
Tear-away stabilizer
·
Temporary spray adhesive
·
Scissors
·
Design Files
Step 01 - Check your
files
ITH coaster design comes in multiple files, including embroidery files
and dieline files marked as "DL" or Cut Files marked as “CF”.
Dielines are used for cutting the fabric to the accurate shape and size.
Step 02 – Hoop with Stabilizer
Secure a piece of water-soluble stabilizer in your embroidery hoop
firmly.
Step 03 – Time to mark
your Area
Embroider the design by starting with the dieline (or outline stitch),
which marks the area on the stabilizer where the fabric piece will be
positioned.
Step 04 - Time to Hoop
your Fabric
Once the dieline has been sewn, take the hoop out of the machine without unhooping the stabilizer. Apply temporary adhesive to the wrong/back side of the fabric piece, then smoothly place it onto the stabilizer within the sewn dieline.
Step 05 –Tackdown your
fabric
Next, put the hoop back onto the machine and stitch the tackdown for
the fabric piece. This will secure the fabric piece in place for the rest of
the design.
Step 06 – Embroidery
Your Design
Once the front fabric piece is secured in place, proceed to embroider
all the details.
Step 07 – Cut your
Extra Fabric
After finishing the embroidery, you may take out of the hoop and cut
your extra Fabric.


-250x250.png)







Leave a Comment