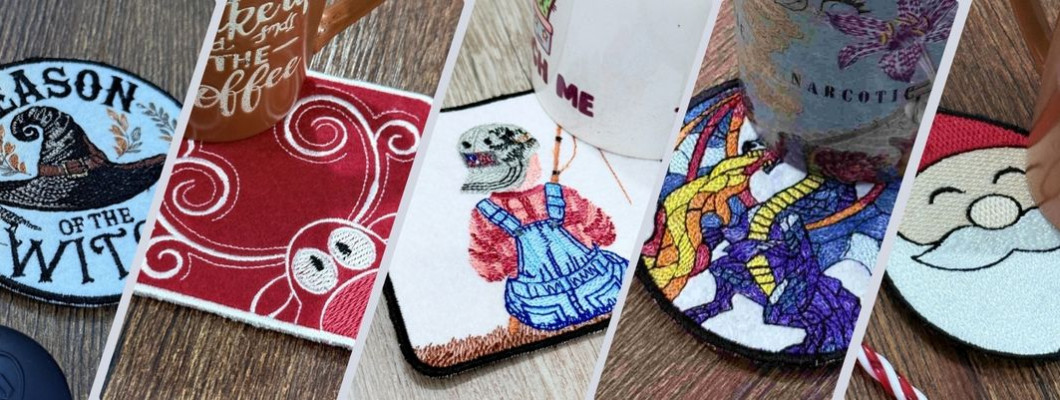
There’s just something special about sipping your tea or coffee while resting it on a coaster you’ve made with your own hands. These coasters are not only practical (no more water rings!) but they also bring a handmade charm to your home. And the best part? It’s easy to make and perfect for beginners.
Here’s a step-by-step guide to making your very own in-the-hoop coasters.
Gather Your Supplies - For this cozy make, you need:- Your embroidery machine (duh!)
- Tear-away stabilizer
- Fabric (something sturdy and pretty!)
- Temporary adhesive spray
- Embroidery thread + bobbin thread (make sure they match!)
- Backing fabric for a neat finish
- Sharp scissors or a rotary cutter
- A printout of dielines (optional)
We are ready to begin.

Step 1: Stitch the Dieline
Think of the dieline as the blueprint for your coaster. Hoop a piece of tear-away stabilizer and run the dieline stitch. This will show you exactly where your fabric will sit.

Step 2: Cut Out the Shapes Using the Dieline
Next, trim along the dieline to cut out your coaster shapes. Now simply place the fabric you cut out on your stabilizer with adhesive spray.

Step 3: Let the Front Piece Embroider
Now the machine will run a tack down stitch and embroider the details of the front piece.

Step 4: Match Your Bobbin with Top Thread
The coaster will be visible from both sides, so wind your bobbin with the same thread color as your top thread. This makes the edges look beautifully finished — front and back.

Step 5: Spray on Fabric as Backing
Cut your backing fabric to match the coaster shape, and place it neatly under the hoop.

Step 6: Stitch the Final Line
Run the final outer line around the coaster. This step tidies up the edges and gives your project that perfect, finished look.

Step 7: Trim, Tidy Up, and Reveal
Carefully unhoop your coaster and trim away any extra stabilizer or fabric. Bravo — you’ve just created something both beautiful and useful!
 (2).png)
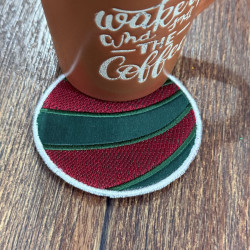
Step 8: Enjoy and Flaunt Your New Coaster
You’re done! Place your new embroidered coaster on your coffee table, gift it to a friend, or keep making more to create a matching set. They’re especially sweet when you mix different fabrics for a seasonal theme or add monograms for a personal touch.

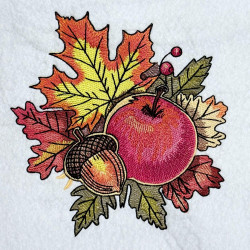
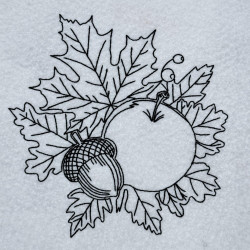
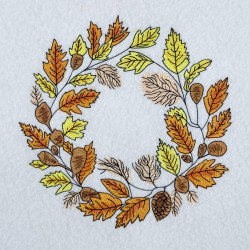

-250x250.png)













-250x250.jpg)
-250x250.jpg)
-250x250.jpg)
-250x250.jpg)
Leave a Comment