02 Aug
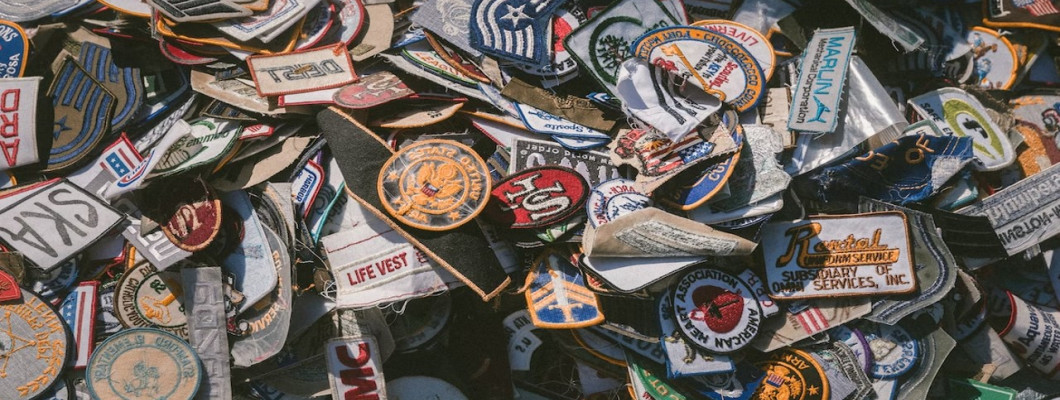

Embroidery Patches are an essential part of contemporary embroidery art. Even though it is an old tradition that used to be done mainly by hand, due to the amazing invention of embroidery machines, embroidery patches are now quite common more than ever. As it is an essential part and need of embroidery, we are here to guide you on how to make embroidery patches. Embroidery Patches are a unique way to showcase your work and interests. They can be attached to a shirt, cap, backpack, and many other things. Embroidery Patches do have their way to make everything cool!
There are many videos on YouTube and many blogs that will teach you how to make embroidery patches. What we will do is try to make it even simpler for you. To keep it short, insightful, and easy to understand.
An embroidery patch can be made by a sewing machine or an embroidery machine, or you can also make an embroidery patch by hand sewing! You can make embroidery patches in any way you like, but all three methods have their benefits and drawbacks. Right now, we will stick to the embroidery machine as it provides more professionality in one's embroidery patches. The prominent advantage of making embroidery patches with an embroidery machine is that your patch will always end up looking professional with finesse!
What Do You Need to Make an Embroidery Patch?
Since we are focusing on the Embroidery Machine method, you will need tools. If you do not have the right tools, you can not make embroidery patches, so for that, you will have to invest in supplies and technology to produce excellent results. So you will be needing an embroidery machine, a type of embroidery machine that is computerized and allows you to upload or wirelessly sync digital files. Other supplies that you will need are as follows:
• Sharp needle with a fine point
• Spools of thread
• Although many embroidery machines come with access to online design space to create or edit digital files with the purchase of the embroidery machine, but you might need a more appropriate specialized embroidery software that may provide you with more tools and options.
• Well-made twill cloth with crinoline backing (You can also get patch-ready fabrics with suitable backings from embroidery stores)
• Lastly, you will need embroidery backing for the badges, heat seal film to cover the badge, and an iron or heat press to apply the film.
Making Embroidery Patches:
The amazing benefit of using an embroidery machine is that you can duplicate copies of the same design with efficiency. Although you can make several kinds of patches with embroidery machines, for now, we will stick to iron-on embroidery patches.
To start, first, you will need an embroidery design; you can select any design you want. You may use your own, purchase one from the store, or select any preset design from the machine’s options. Now, when you are past choosing the embroidery design step, here is what you will need to do further to make an iron-on embroidered patch using an embroidery machine:
• Take a piece of peel-and-stick stabilizer and position it into the embroidery hoop
• When inserting the embroidery hoop, make sure the paper side is facing toward the needle.
• Take out your craft knife and try to cut the inner edge of the hoop carefully, as it will make it easier for you to peel up the paper backing.
• Now what you will do is take out your machine, set it up, and prepare to outline the shape of your design.
• Position your blank patch on the paper’s sticky side on the stitched outline to make sure your embroidery machine stitches the design perfectly at the center of the patch.
• Select your design file and get ready to embroider it onto the patch. Now, you have to just sit back and relax and watch closely how your machine is embroidering the design.
• Peel the patch off your stabilizer and remove the embroidery hoop once the embroidering is done.
• Now, there are only two small steps you will have to do to make it an iron-on patch. You will first have to take a piece of fusible bond material. Make sure the piece is smaller than your patch. Put a cloth on the wax side of the paper and iron to seal it.
• Once your patch cools down, gently remove the backing and make sure the heat film is not coming off with it. If it is, you will need to iron it again.
• That’s all! Your patch is all good to go.
So, these are the things, equipment, and techniques you may want to keep in your mind before starting on embroidery patches! Even though it is an old tradition, it still lives on and will keep on living. Before, it used to be done by solely hand, but since the evolution and modernization of the era, the embroidery patches have found their way to be embroidered on machines! Many embroidery digitizing companies, people offer custom embroidery patches, and it's because of the popularity the embroidery patches hold!


-250x250.png)









Leave a Comment