02 Aug
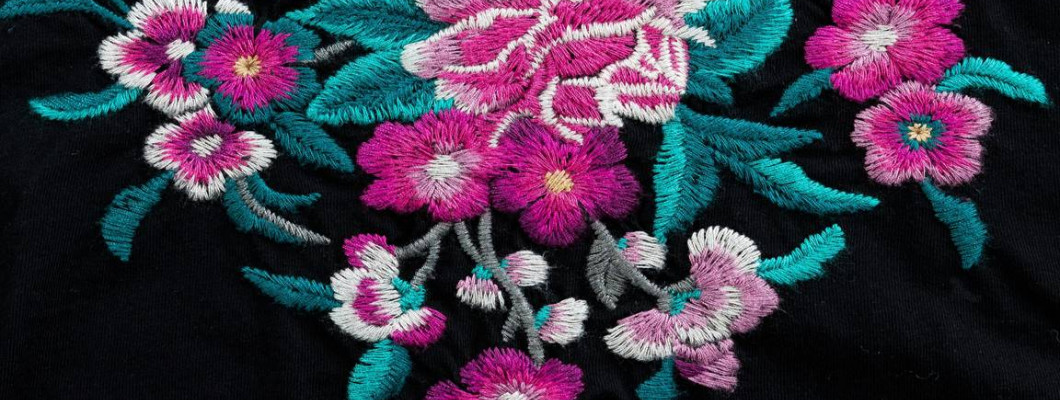

Beginner or not, sometimes we mess up during our sewing or embroidery process. Other times, we change our mind about the design that we are creating that we want to remove what we stitched. Removing unwanted embroidery and stitching is not hard! All you need is some handy tools and the knowledge of using them.
This is where we come in; presenting you a what-and-how-to-do guide on removing embroidery.
Tools you need for Embroidery removal
You are going to need the following things to remove unwanted stitching:
- Seam Ripper – for removing sewing/seams or hand embroidery
BUY SEAM RIPPER FROM AMAZON
- Stitch Eraser – for machine embroidery
BUY STITCH ERASER FROM AMAZON
- Tweezers – for taking out small threads after using either the ripper or eraser
BUY TWEEZERS FROM AMAZON
- Lint roller – to easily pick up the remains after the process of the removal
BUY LINT ROLLER FROM AMAZON
Removing Embroidery Using a Seam Ripper
A seam ripper is a tool that is mainly used for removing seams, sewing, or hand embroidery. It is a must-have tool as it is very useful. We have an article that is completely dedicated to seam rippers and how to use them correctly. Using a seam ripper to remove stitching is a really effective and efficient way. What we have discussed in the linked article:
- What exactly is a seam ripper?
- The point of using one.
- How to remove embroidery, seams, or stitching using a seam ripper.
- Bonus tips!
To learn how to remove embroidery or sewing, read our article by clicking the button below.
OUR ARTICLE “HOW TO USE A SEAM RIPPER?”
Removing Machine Embroidery
You need to work from the backside to remove the stitching correctly. If you are removing embroidery from a garment then turn it inside out.
Step I: Switch to the backside of the Project
As we said earlier, you need to work from the backside of the project that you are going to be removing your embroidery from. This is necessary because it makes the work much easier. It also reduces the chances of ruining your garment or fabric.
Step II: Get rid of the Stabilizer
You need to get rid of the stabilizer in the back. Stabilizer keeps the stitches intact and the point here is to loosen and cut the threads. Removing the stabilizer will help the stitch eraser to cut stitches easily without any interruptions.
Step III: Pick up your Stitch Eraser
Take the Stitch Eraser and start from the edge of the stitches. Make sure that the eraser is going deep into the threads. Keep using the stitch eraser until all of the threads are cut.
Tip: Use the stitch eraser slowly and in small intervals of time. You do not want to end up ruining your project. So, use it slowly and steadily.
To buy a stitch eraser, click the above link mentioned in the “Tools you need for removing embroidery” section.
Step IV: Switch to the front side of the Project
Now, switch back to the front side of the project. As we have now loosened the threads from the backside, we will remove the unneeded/unwanted embroidery.
Step V: Time to remove the Embroidery completely
Use a seam ripper or tweezers to remove the threads. You can repeat the process until the embroidered design or pattern is removed. It is much better to use a seam ripper or a pair of tweezers than your bare hands.
Step V: Clean up!
After getting rid of the embroidered design or pattern, use a lint roller to remove any tiny pieces or remains of the thread. Lint rollers are really great when it comes to picking up tiny particles so, your project will be wiped clean!
This is all you need to know about removing that unwanted or unneeded embroidery, stitching, or sewing. We have also linked everything related in this article so that you can easily be redirected to the particular needed space.
Have Fun Sewing & Embroidering!


-250x250.png)














Leave a Comment