02 Aug
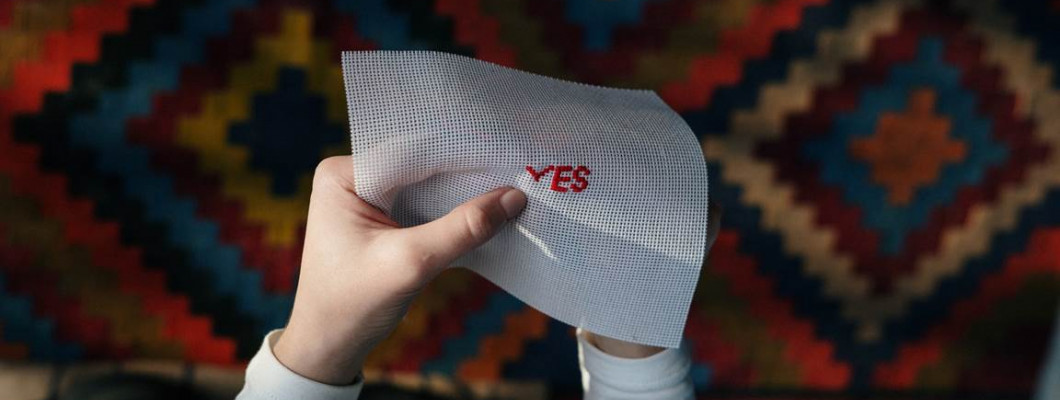

Satin Stitch can be described as the group of stitches, used to cover the specific background of the fabric. It comes in very handy and is a nice type of embroidery stitch used for filling in the small areas. Satin Stitch embroidery requires finesse. The most fascinating thing about Satin Stitch is that it is a versatile stitch that can be used to fill any shaped area. It can be pretty problematic too but with practice and instructions, you will get the hang of it.
For doing satin stitch embroidery, you will be needing:
- Embroidery thread
- Embroidery hoop
- Fabric
- Embroidery Needle
How to do Satin Stitch:
Step 1:
To create your first Satin Stitch; bring the needle up through the fabric and then push the needle back in from the opposite side of the design line, also use a fine needle, it will help with the accuracy. Work in an under-and-over motion so that the back of the fabric looks the same as it looks from the front. Keep your stitches close, and do make sure that your stitches are touching, if they won’t, you will see the fabric beneath which will look bad. Use a thick thread for this.
Step 2:
If you’re a beginner keep your stitch in the centre of the design as this will help to keep an even shape and help stitches situate properly. Also, you can work with your stitches horizontally, diagonally, and vertically depending on how you want to work. Stitch the one half of the design and then go stitch the other half parallel to the first one.
Step 3:
You can try outlining satin stitch as it is easier for beginners as well. First, outline the design on your fabric, use a backstitch to outline it, and then fill the design with Satin Stitch, then simply go back and forth across the shape or your design. You may consider this an alternative, cleaner step.
Helpful Tips for Satin Stitch:
- Fewer strands = smoother finish meaning your Satin Stitch’s smoothness varies on the number of strands of floss you have used. The fewer strands of floss, the more smooth the satin stitch.
- Take all the time you need, and don’t rush into completing your stitch. The more you will practice, the more your satin stitch will get better.
- Stay in the centre of your design and work on one side first to keep your stitches parallel
- Experiment by using a variety of strands of floss for different textural effects
- Try not to use long satin stitches as they can get caught on something which could ruin your design.
- Use the smallest needle, it will allow you to thread your floss through.
- Use a fine needle as it will provide accuracy while stitching.
- If you want to get smoother edges and want to get that pleasing touch then you can backstitch your design as it will help you follow your design and will add the pleasing touch.
- If a stitch is not lying how you want it to, don’t be afraid to unpick it.
Have Fun Sewing & Embroidering!


-250x250.jpg)













Leave a Comment