15 Aug

Posted By
0 Comment(s)
874 View(s)
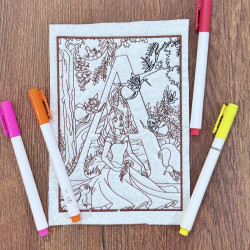
Today, we are looking at a fun, creative, and magical embroidery project that's perfect for kids and adults. This DIY Coloring Alphabet Project bring together the joy of stitching and coloring. Whether you're a teacher, parent, or a craft enthusiast, this quick project will guarantee smiles and screen-free entertainment!
Here’s everything you need to know to stitch your own reusable coloring alphabet!
Materials Required:
- White vinyl – used as the base where the design is stitched
- Clear vinyl (12–20 gauge) or a thick plastic wrap – acts as the topper
- Fabric or felt – for the backing
- Dry-erase markers – to color the alphabet
- Medium-weight cut-away stabilizer OR tear-away stabilizer (doubled up if your design includes a dense fill stitch)
- 5x7 Embroidery hoop (130x180 mm)
- Tape – to secure clear vinyl in place
Step-by-Step Tutorial:
Step 1: Hoop Your Stabilizer
Start by hooping your stabilizer securely. This forms the foundation for the entire design.
Step 2: Float your White Vinyl
Place a piece of white vinyl over the hooped stabilizer. This will be the surface your alphabet design is stitched on.
Step 3: Color Fill (OPTIONAL)
If your design includes colored areas (such as pre-filled shapes or details), stitch those now before moving on.
Step 4: Secure the Clear Topper
Place the clear vinyl (or plastic wrap) on top of your white vinyl. Use tape to hold it in place, make sure the tape does not fall within the stitching area, it can be a pain to remove!
Step 5: Stitch the Outlines
Stitch the black outlines of your alphabet letter. The needle will stitch through both the white vinyl and clear vinyl layers.
Step 6: Add Backing
Once the outlines are stitched, remove the hoop from the machine (without unhooping the project). Flip it over, and place a piece of fabric or felt on the back, fully covering the stitched area.
Step 7: Final Stitch
Take your project back to the machine and stitch the final outline. This step connects the front, topper, and backing together in one neat finish.
Step 8: Trim and Clean Up
Take your project out of the hoop and carefully cut around the edges of your stitched alphabet. For felt backings, gently singe the edges with a lighter to clean up any fuzz safely.
Step 9: Color & Enjoy!
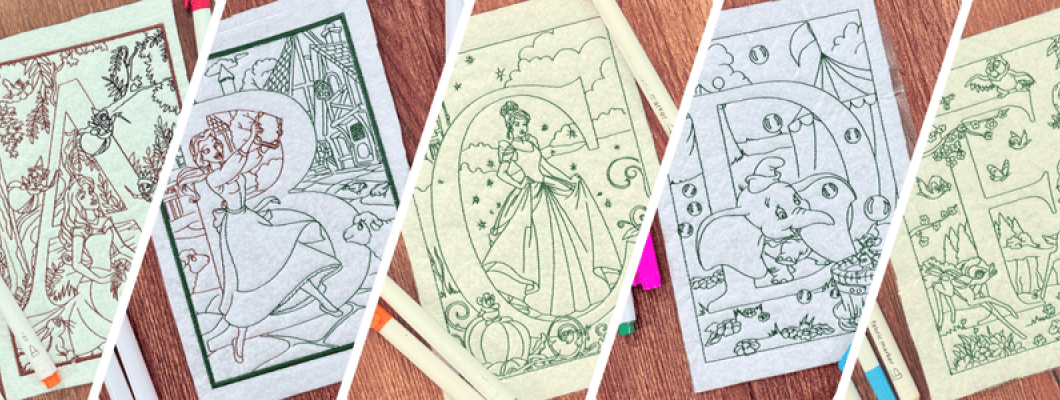
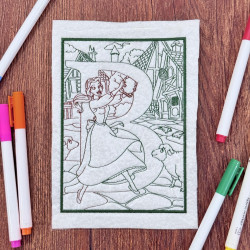
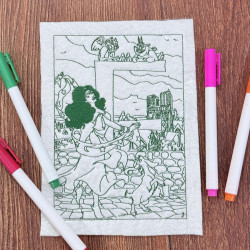
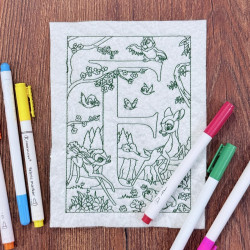
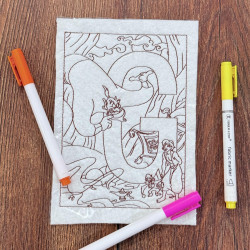
Your Disney Alphabet is ready now! Use dry-erase markers to color in the design. The best part if you can wipe it clean when you're done and recolor as many times as you want. Isn't this such a fantastic activity for travel, classrooms, homeschoolers, or just playtime? Prove me wrong!
There's also room for creative freedom. You can opt for pastel or patterned vinyl for a different look. Create a full A-Z set, store it in a binder with a pack of dry-erase markers or stitch it all together and use it as a tablemat.
Have Fun Sewing & Embroidering!


-250x250.png)














Leave a Comment