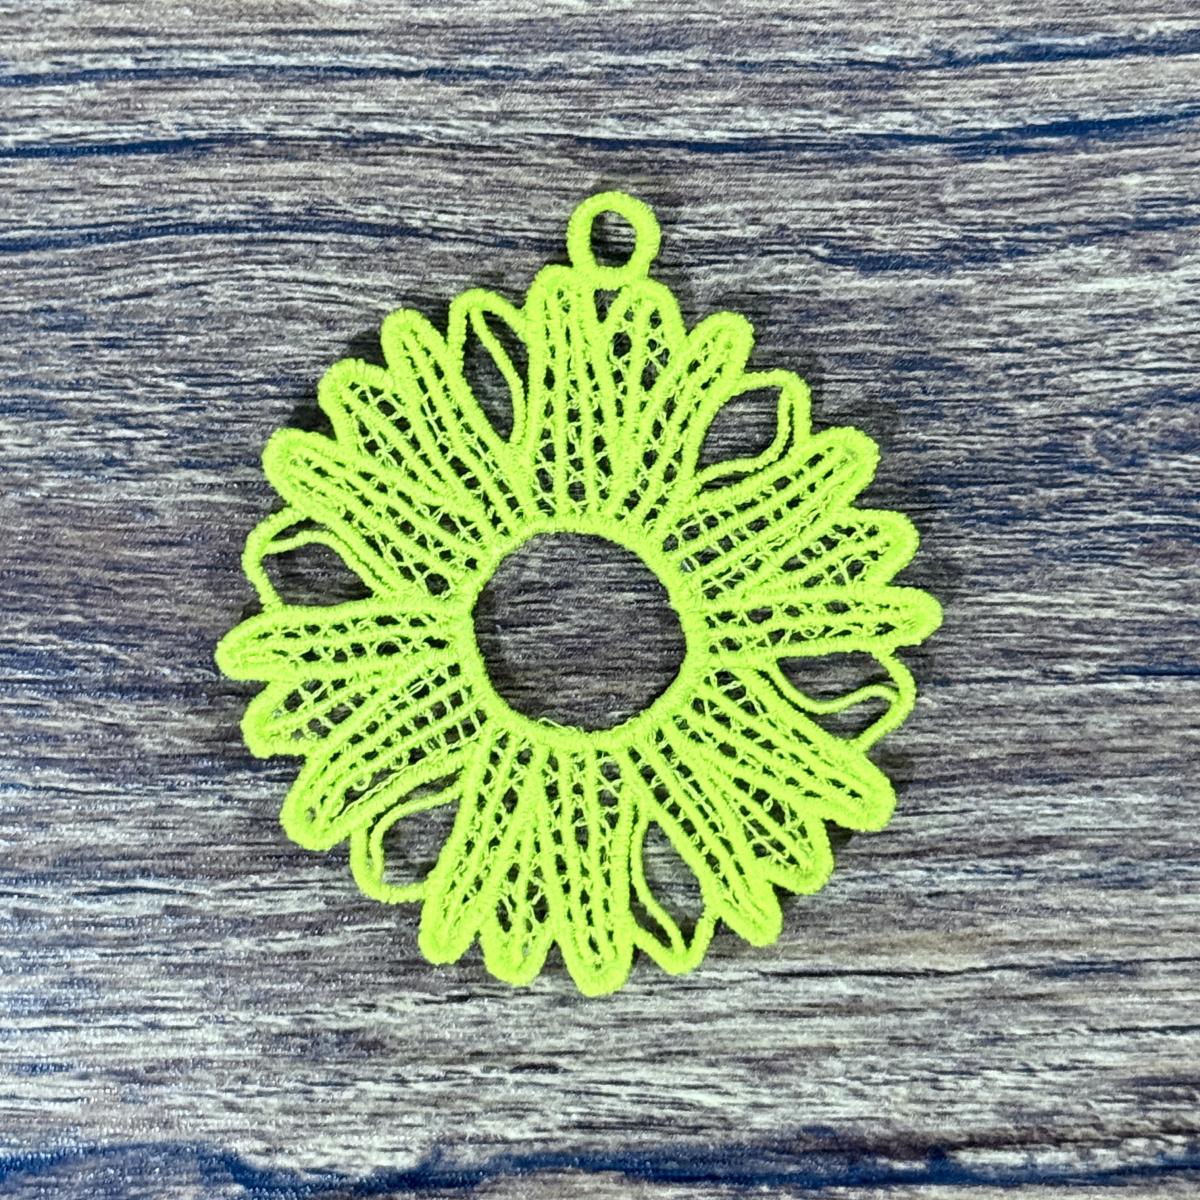
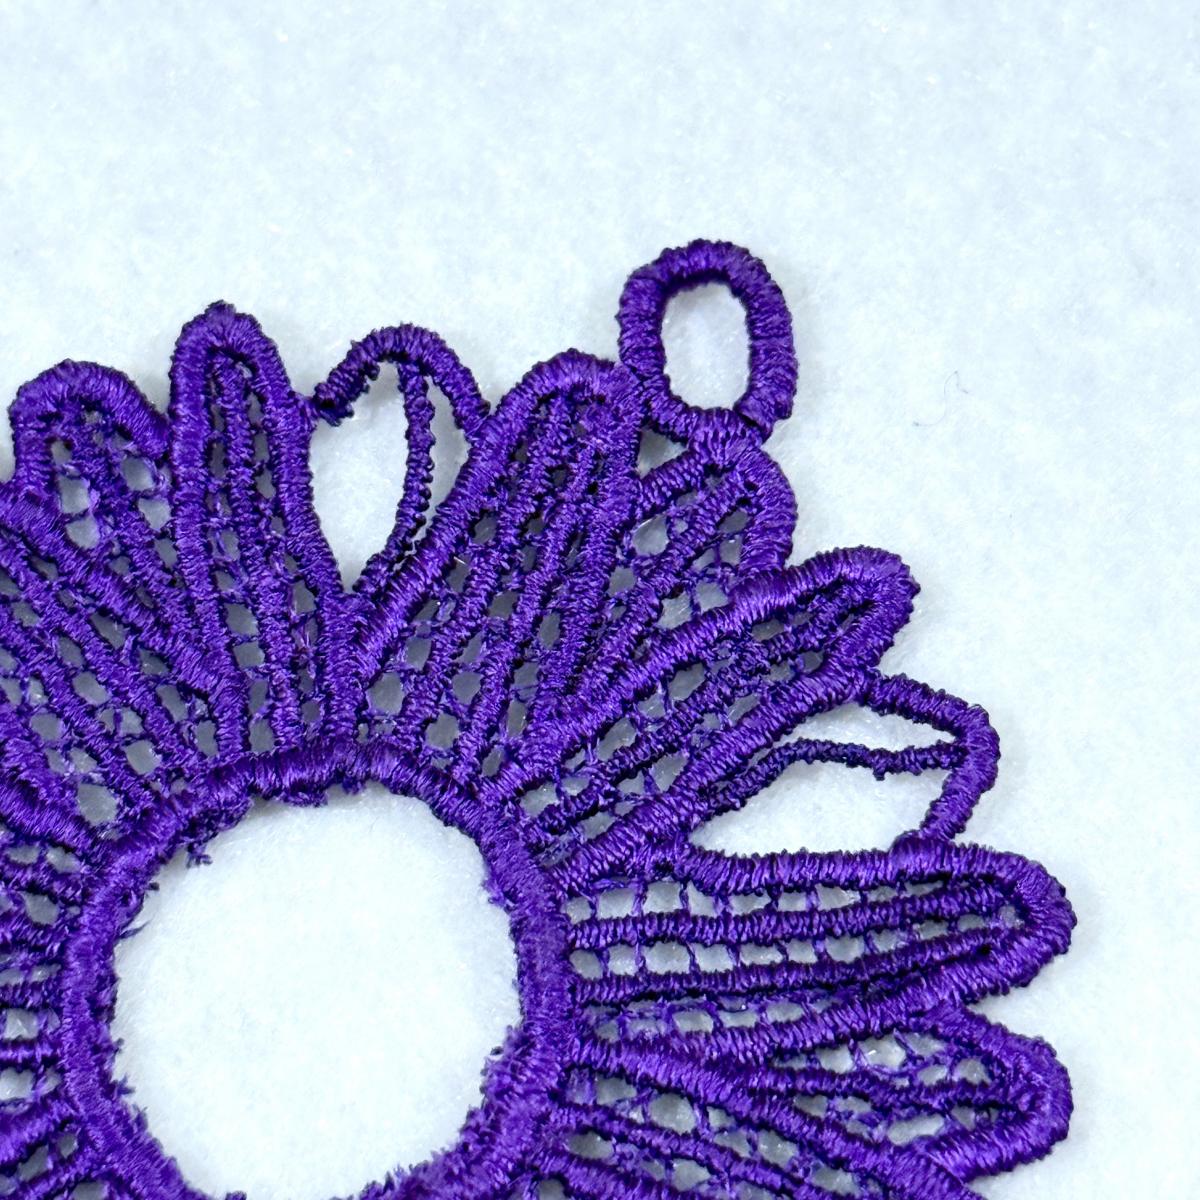
Cheerful Daisy FSL Embroidery Pattern
💡 Where it can be embroidered
- Hanging ornaments for craft decor
- Attached to gift tags
- Spaced along a decorative garland
- Sewn onto fabric napkins
At a Glance
Size & stitch count
| # | Size (in) | Size (mm) | Stitches | Trims |
|---|---|---|---|---|
| 1 | 2.7 × 3.0 | 69 × 76 | 12,421 | 1 |
Unique Colors
Own a different thread? Pick up to 3 brands and the chart will show their codes alongside Madeira Rayon.
Codes marked ≈ have no published equivalent and use the closest colour. Always test a sample before stitching.
Color Change chart
| # | Madeira Rayon | Color | Color Name |
|---|---|---|---|
| 1 | 1068 | Canary Yellow |
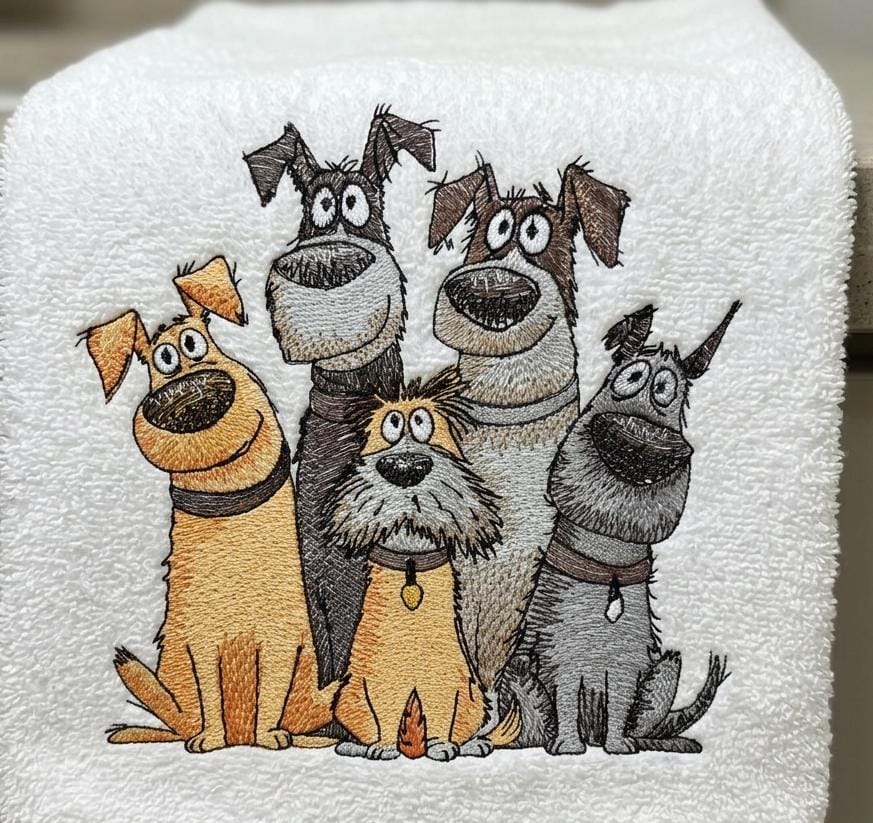
Tested this design on a towel and it turned out great. Love the design quality.
Goofy Dogs Squad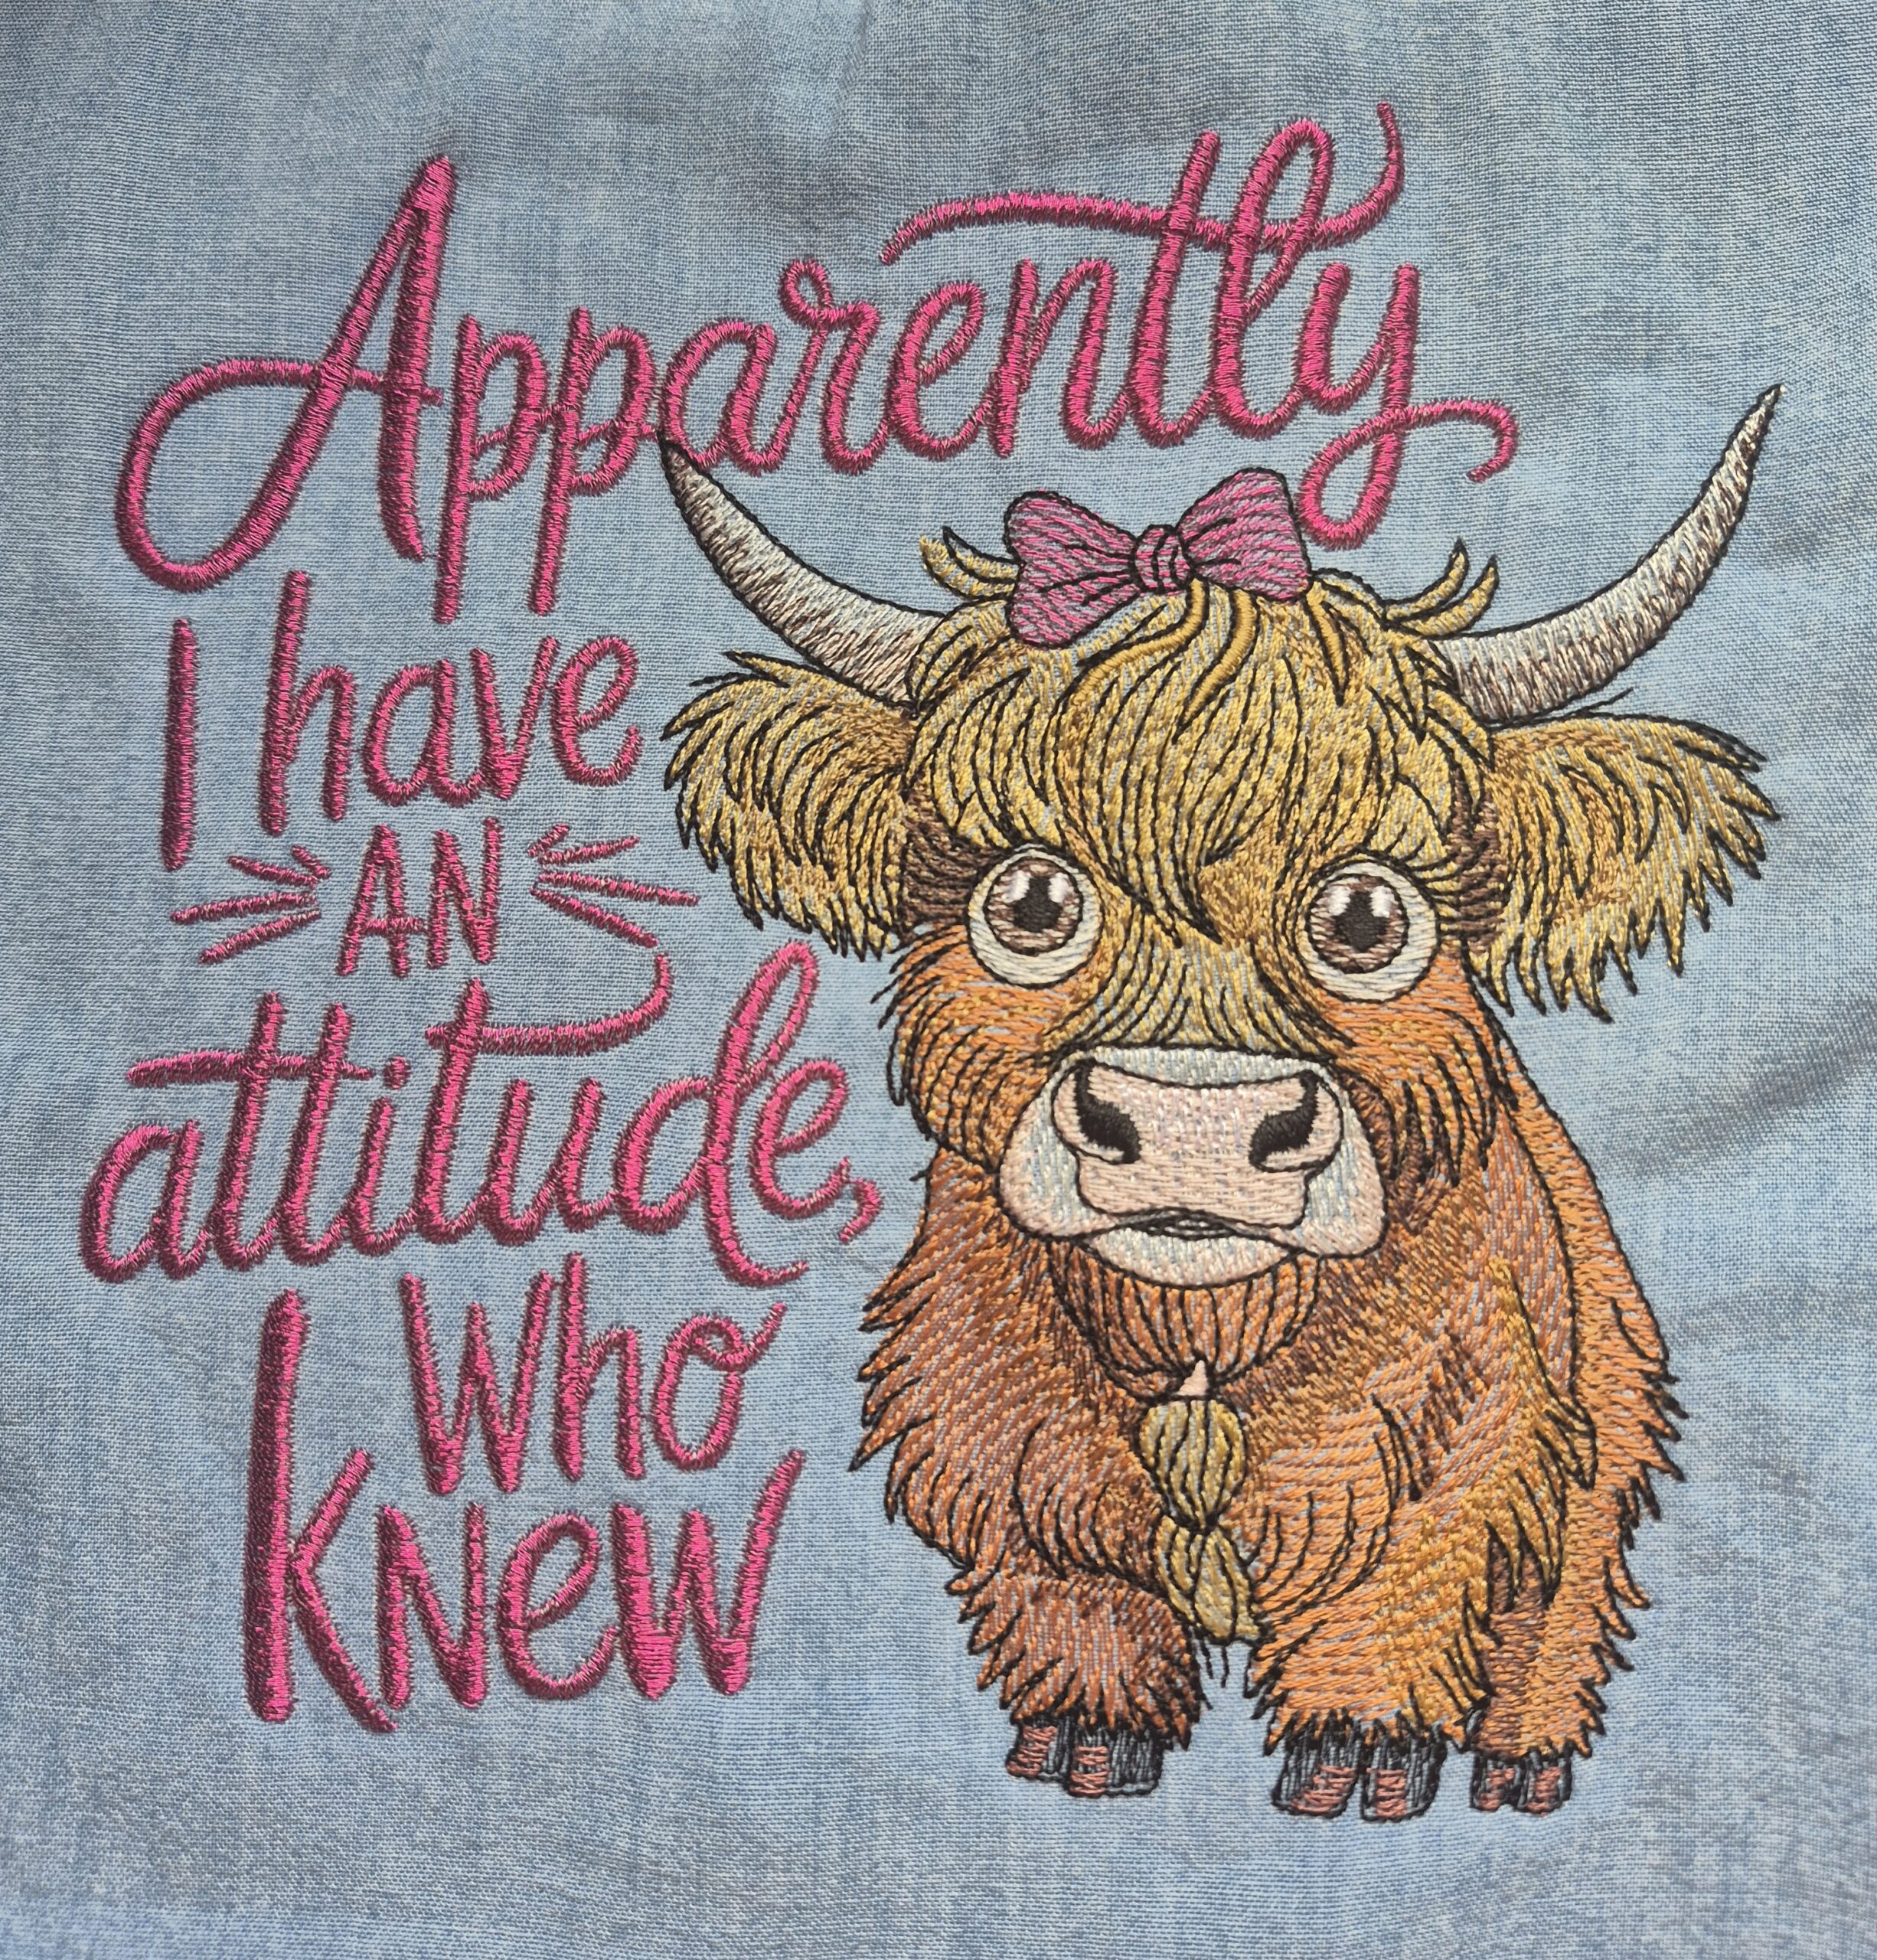
I love, love, love this design, its such a pleasure to sew it out. I changed the colour of the writing and matched the bow.
Attitude Highland Cow Funny Saying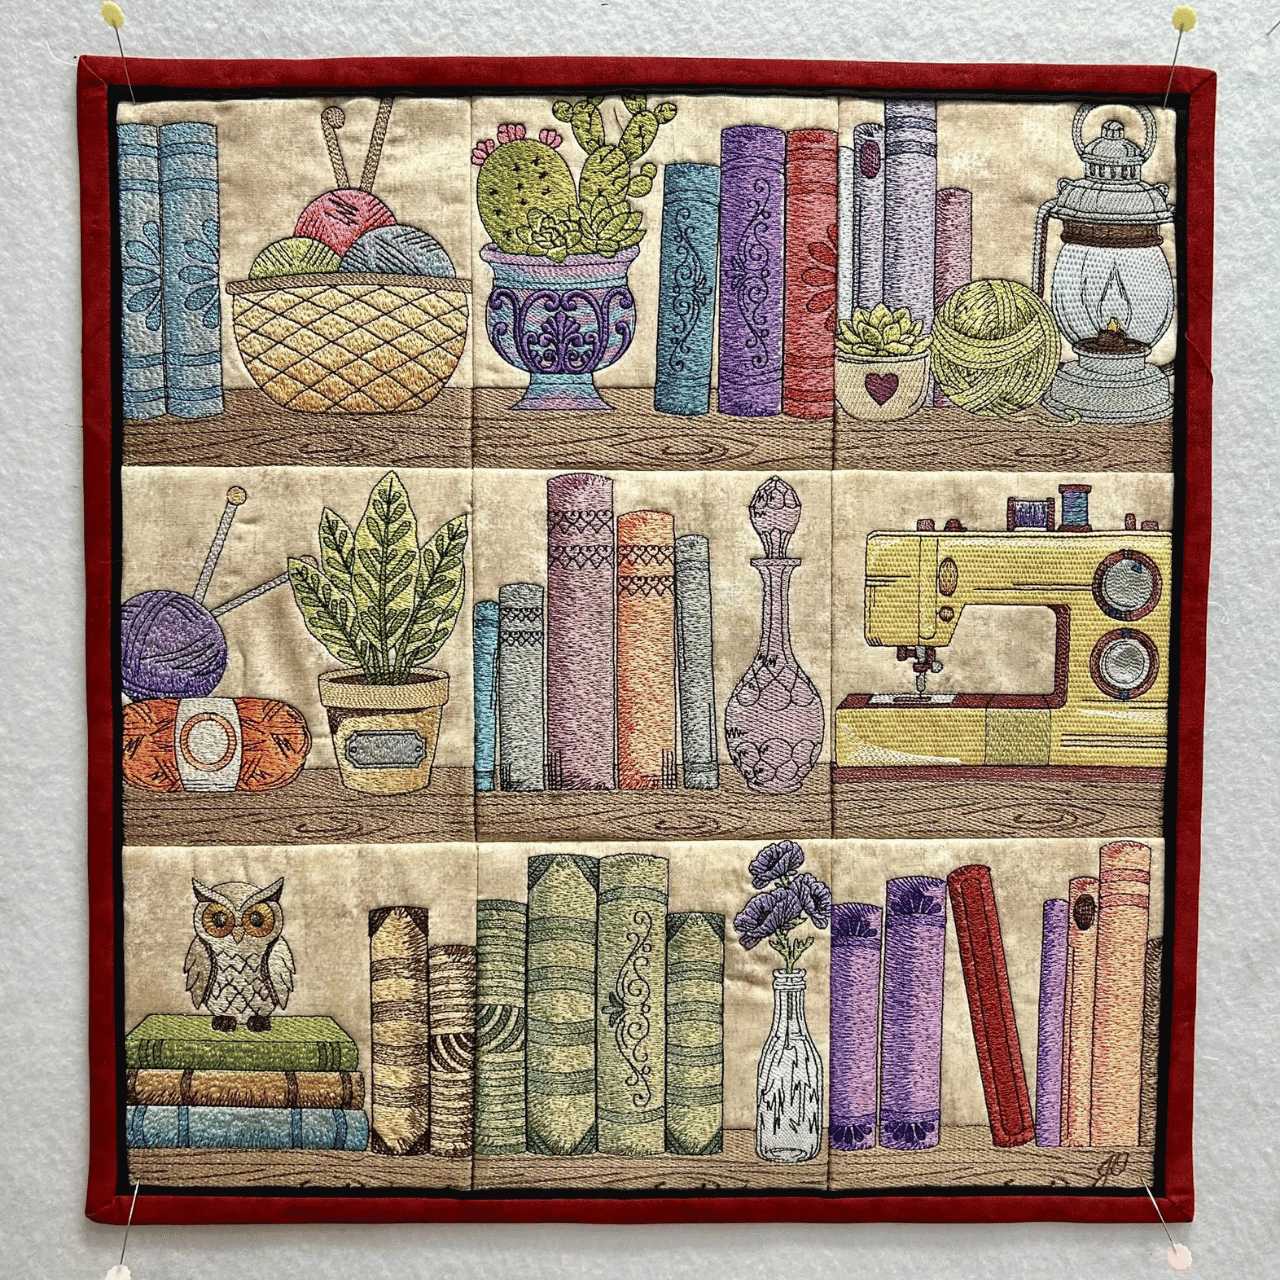
The Cozy Bookshelf Panel is amazing. Love the quality. Made few changes and it turned out great.
Cozy Bookshelf Panel Embroidery Design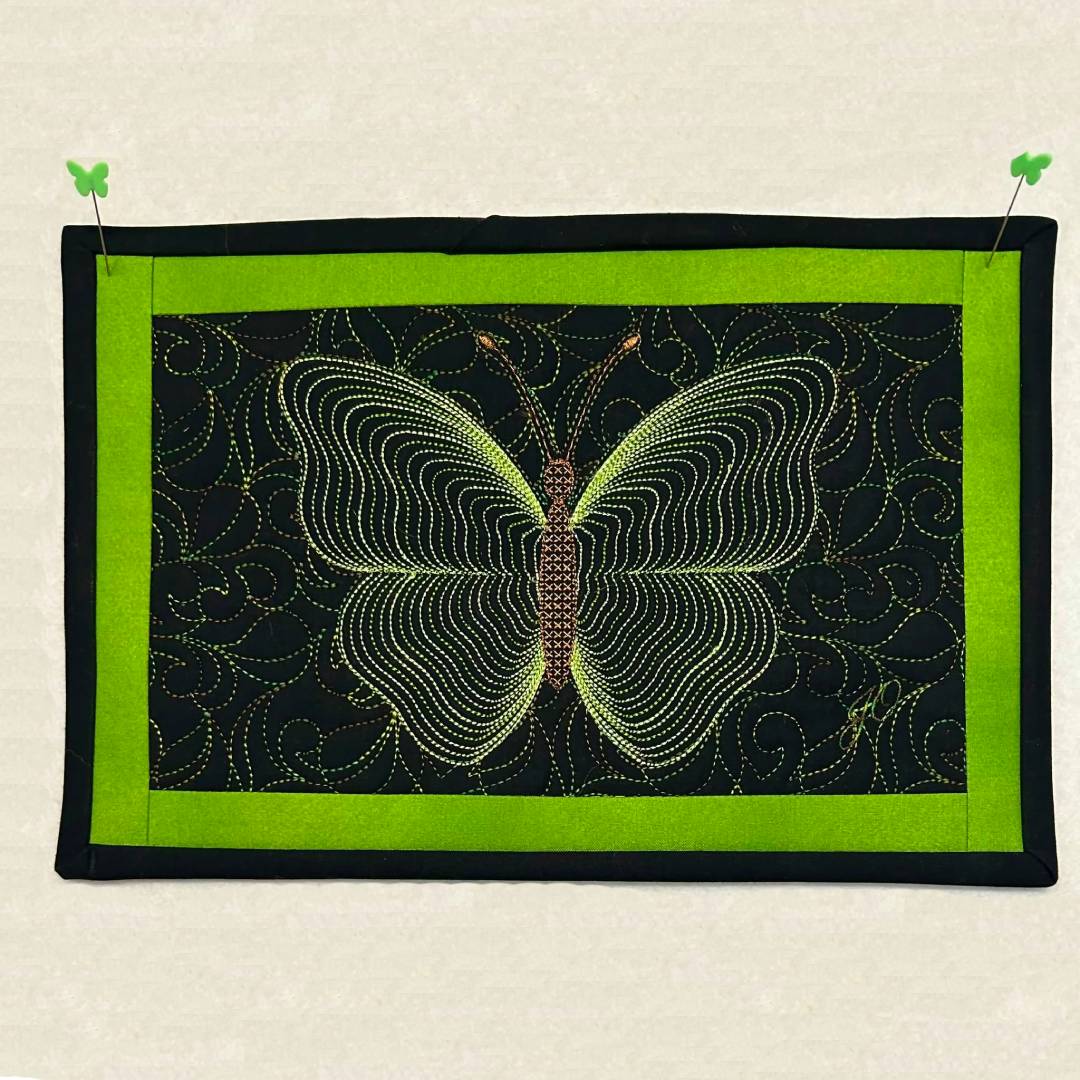
Love this beautiful design. Really enjoyed embroidering it.
Gold Teal Blending Butterfly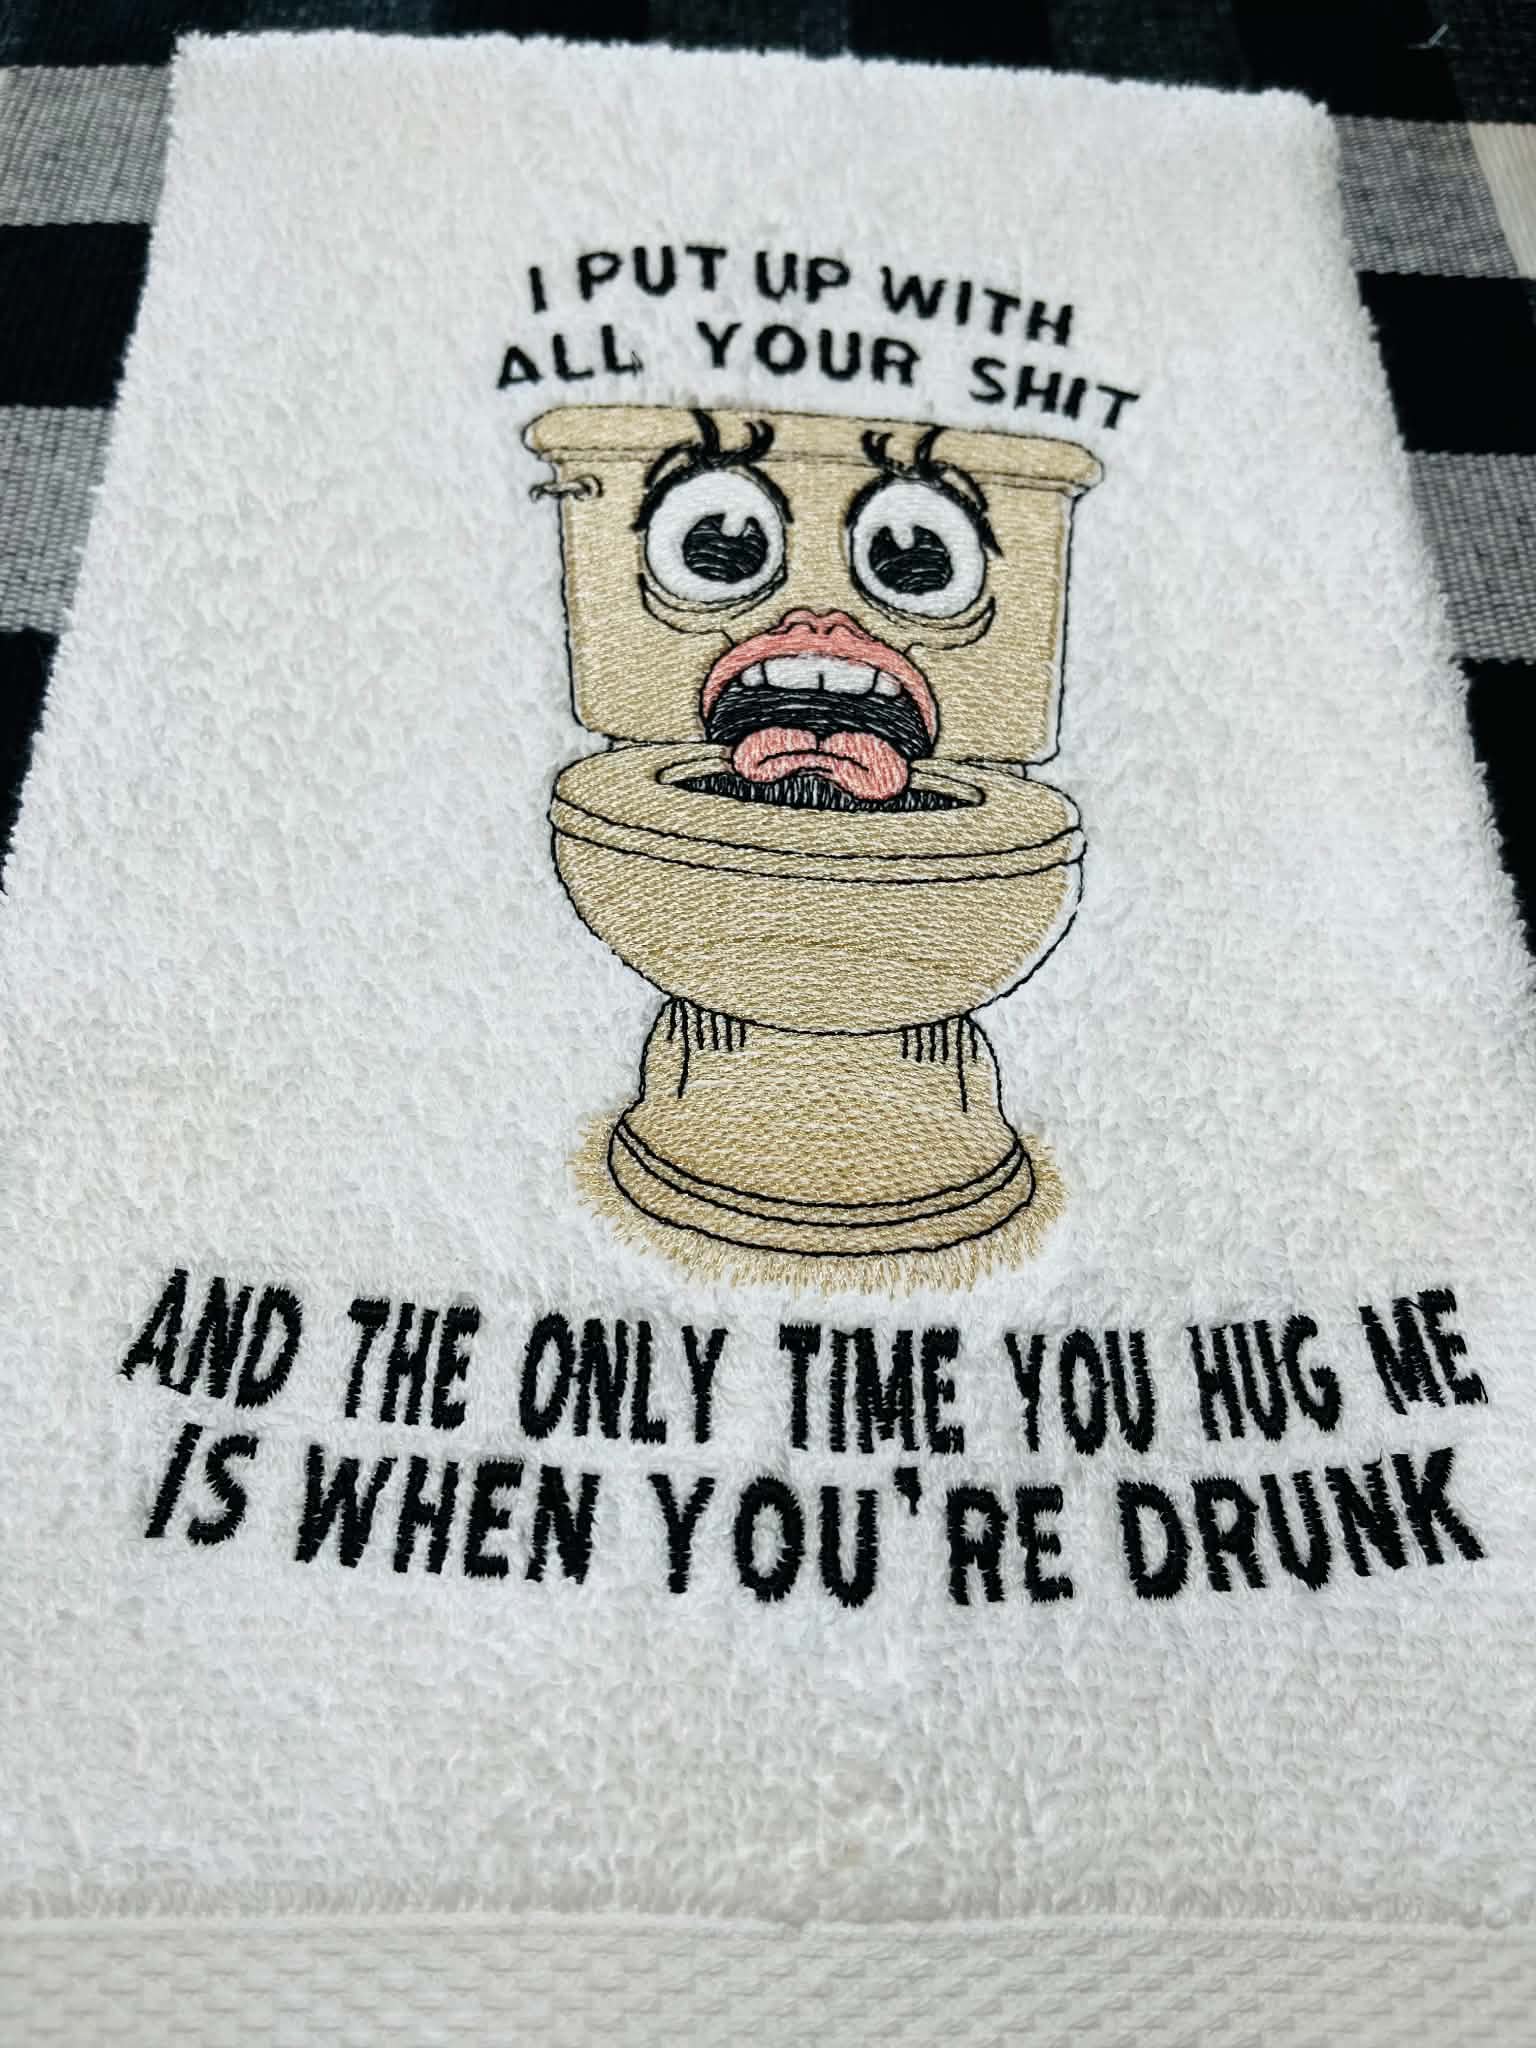
This is great for the guest bathroom. Easy, low stitch.
I Put Up With All Your Mess Quote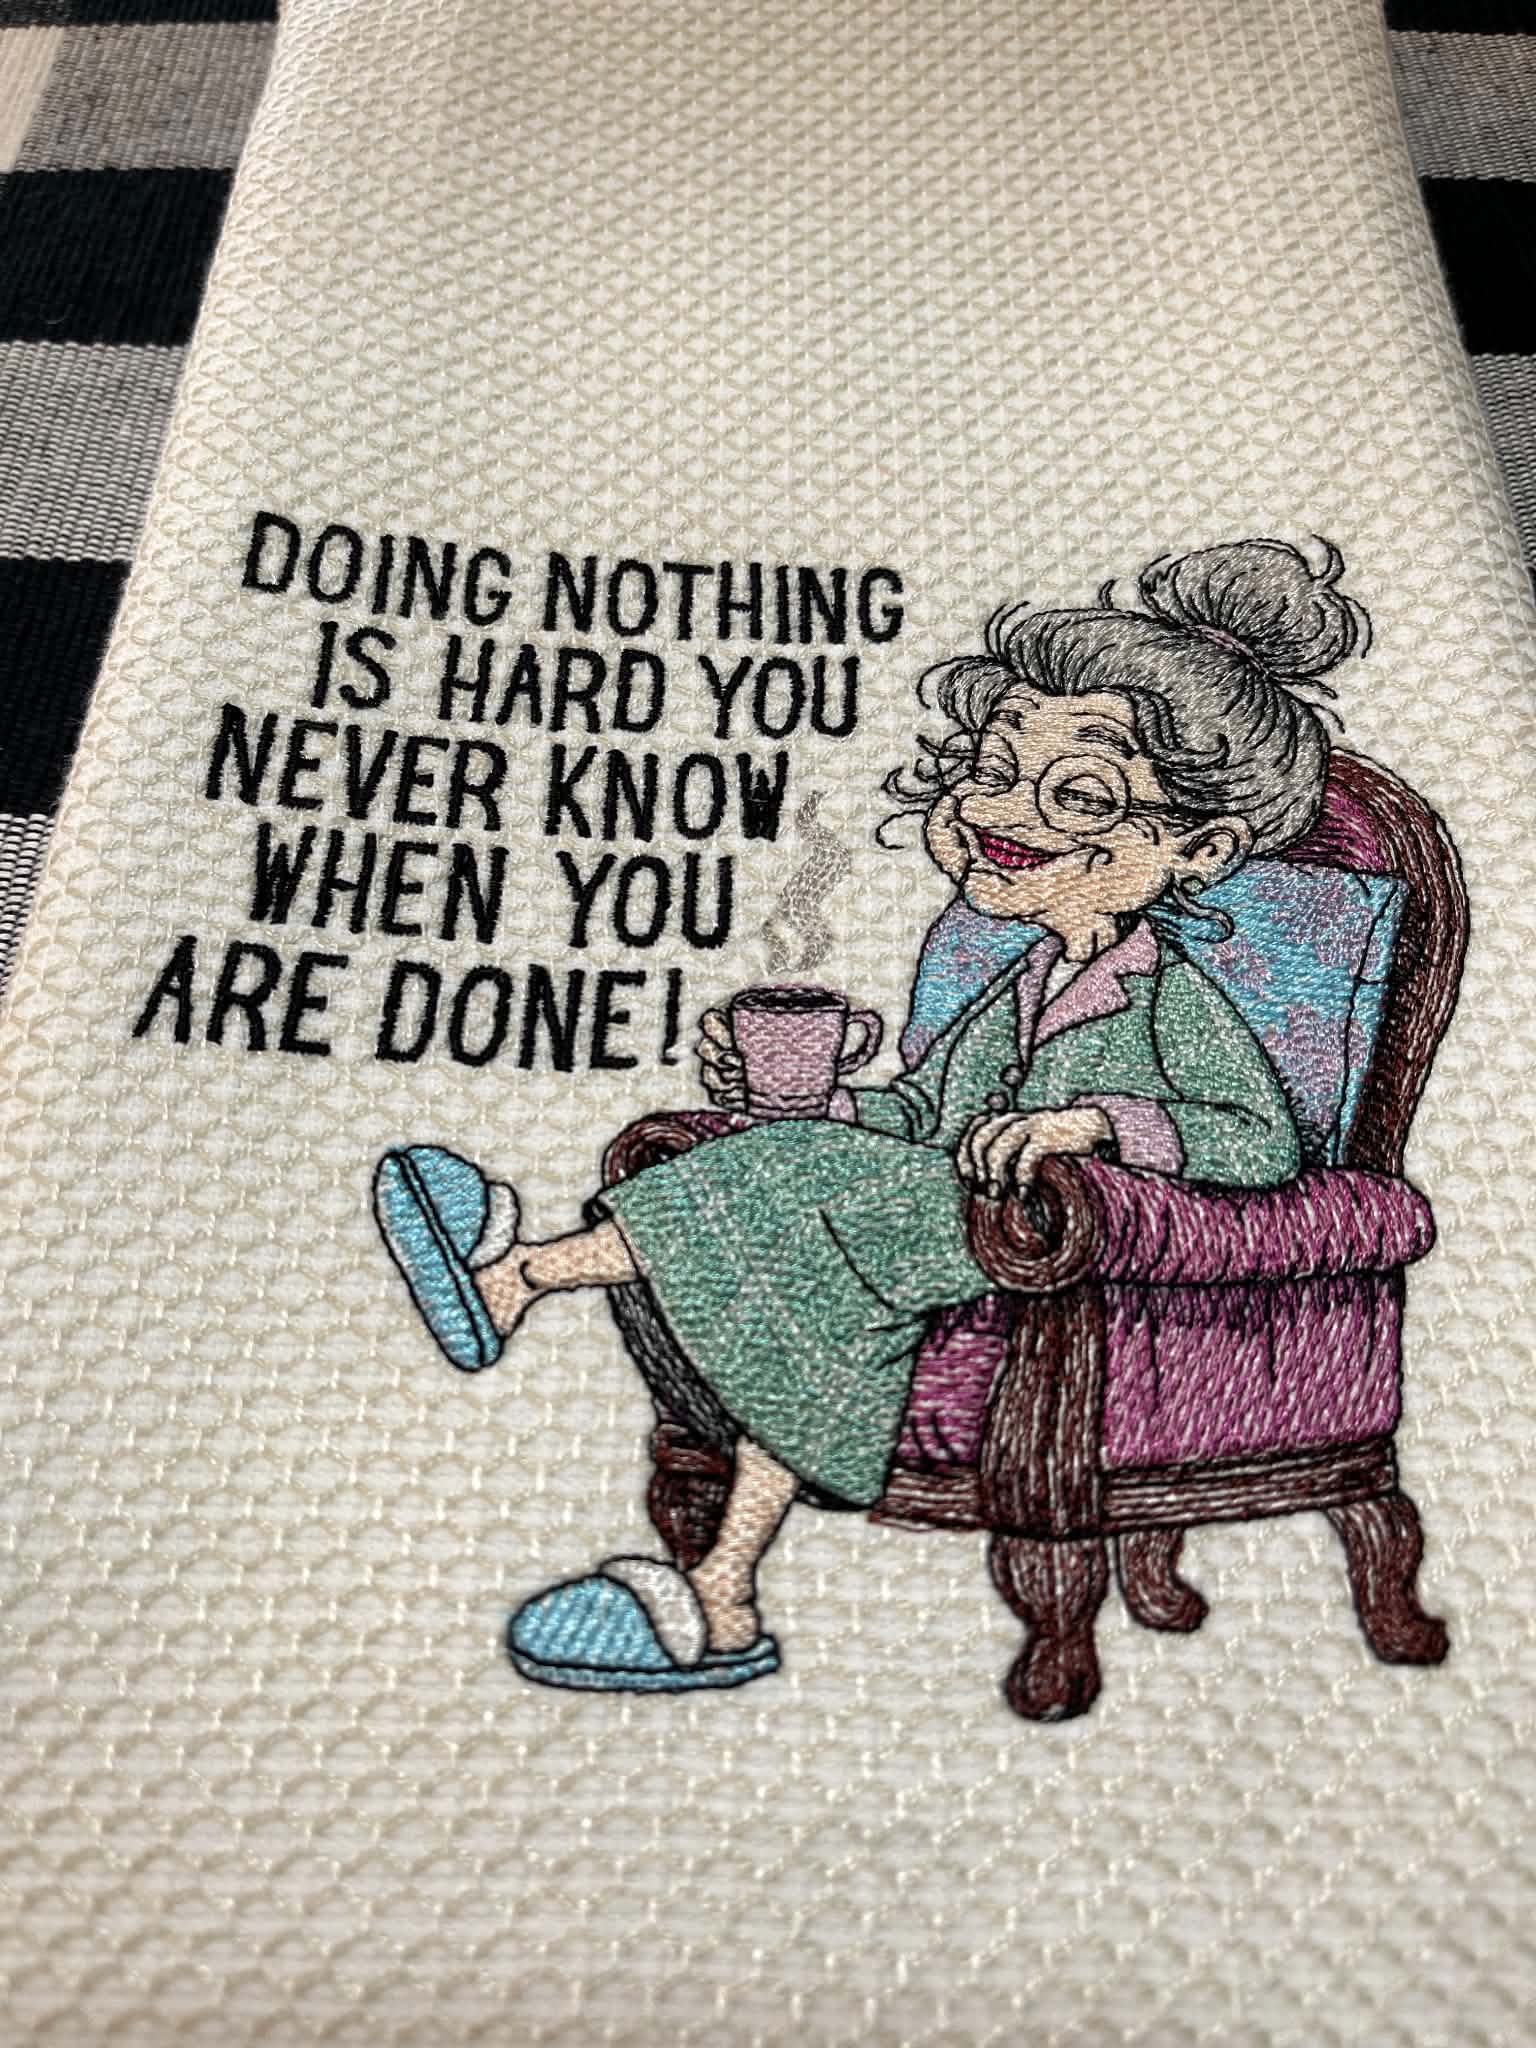
Love this design......not too many stitches which is what I look for.She is just fun and turned out great.
Cozy Grandma With CoffeeReally cute and comes out so nice. Making shirts for friends for Christmas.
Christmas Cats TreeDesign is really cute and embroiderys nice. Too many jump stitches but makes a nice Christmas shirt for friends.
Christmas Cats With Lights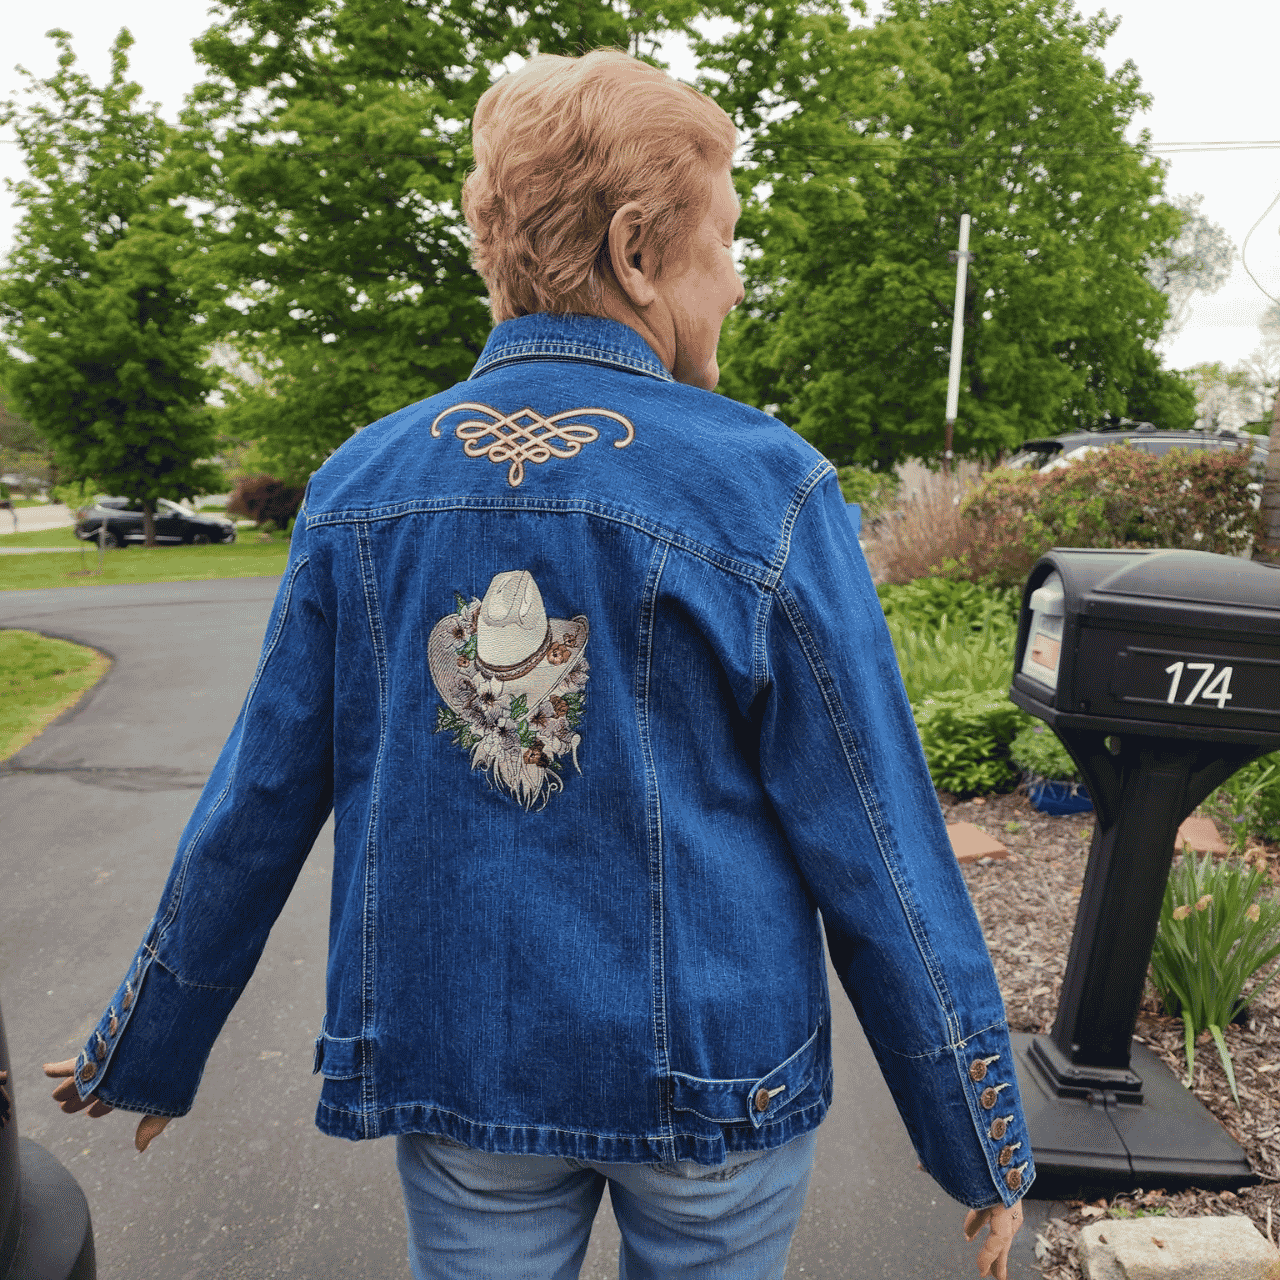
I absolutely loved the cowboy hat. I had a craft show coming up at a horse rescue farm. This looked like the perfect time to put it on…
Floral Cowboy Hat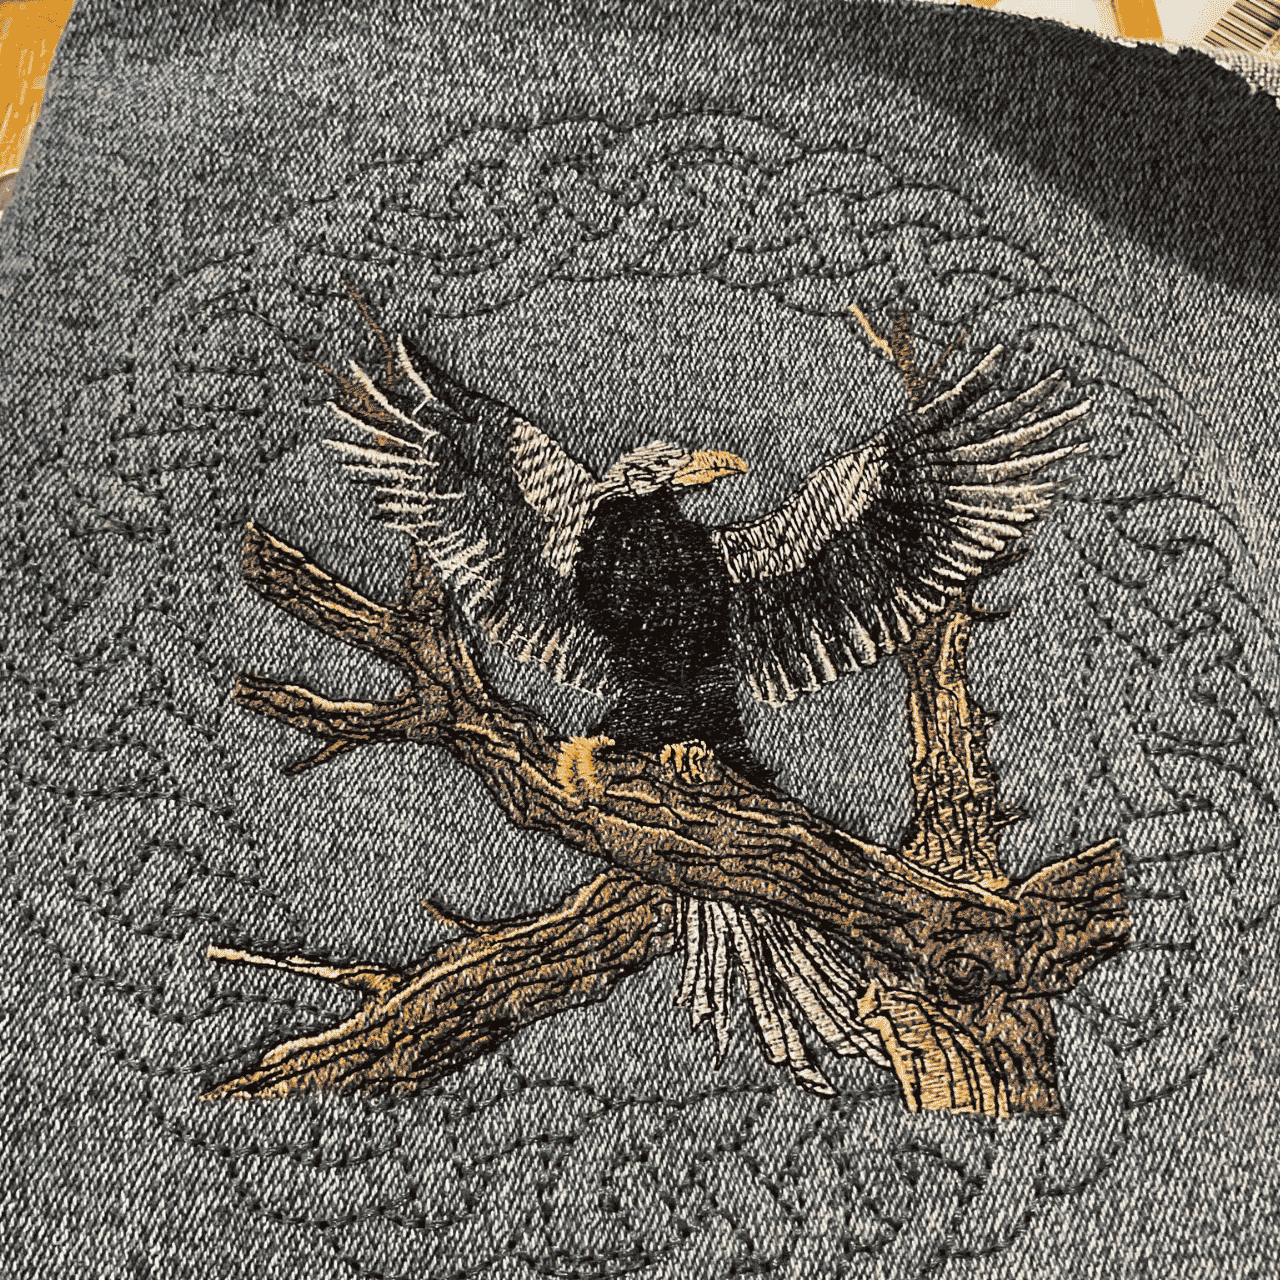
My eagle turned out great, next time I need to use a better background color. I thought it would pop out more on a denim jacket. Great quality…
Majestic Eagle With Open Wings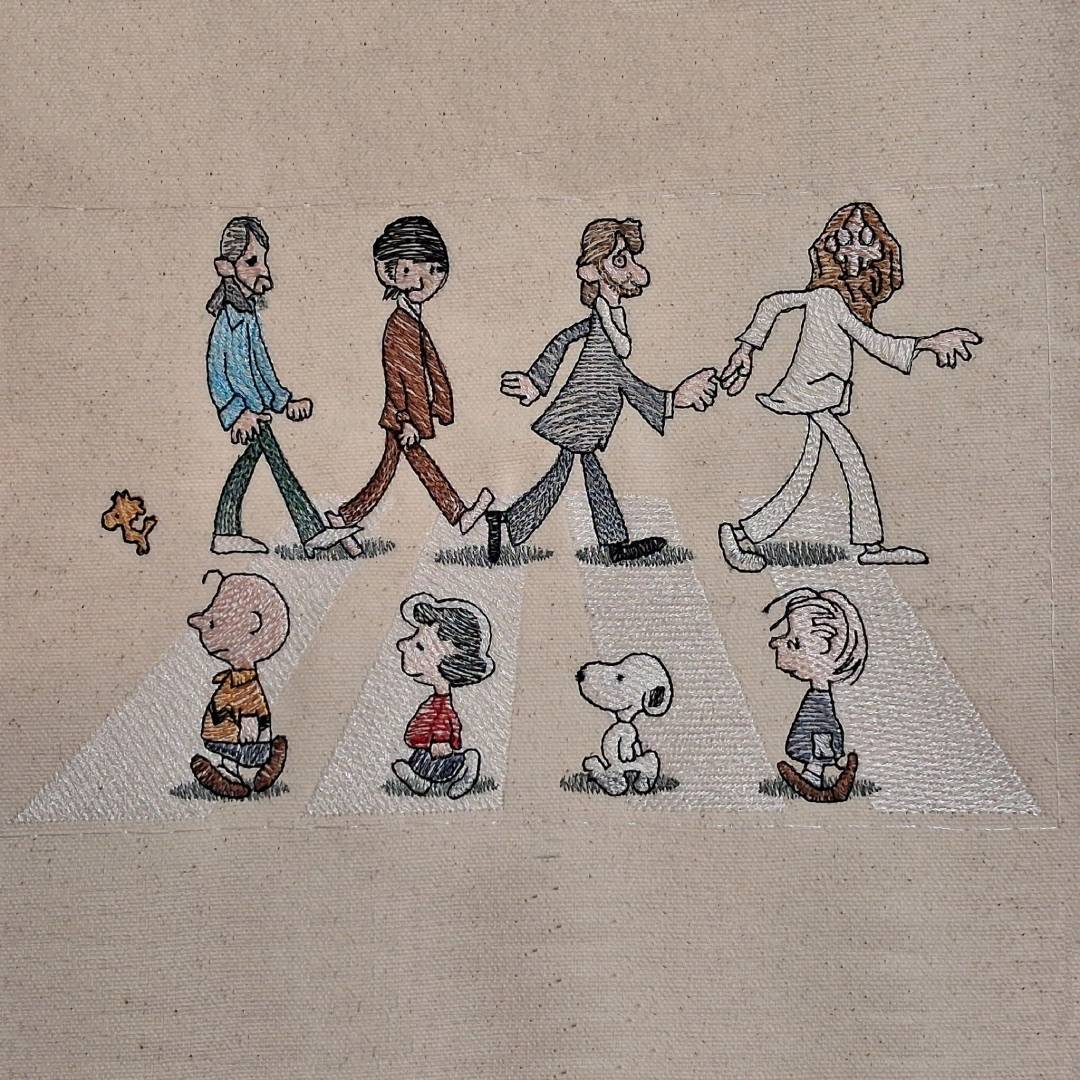
Finally got around to try this one. Stitched out perfectly. Love the design.
Nosey Dog And Friends Crossing Road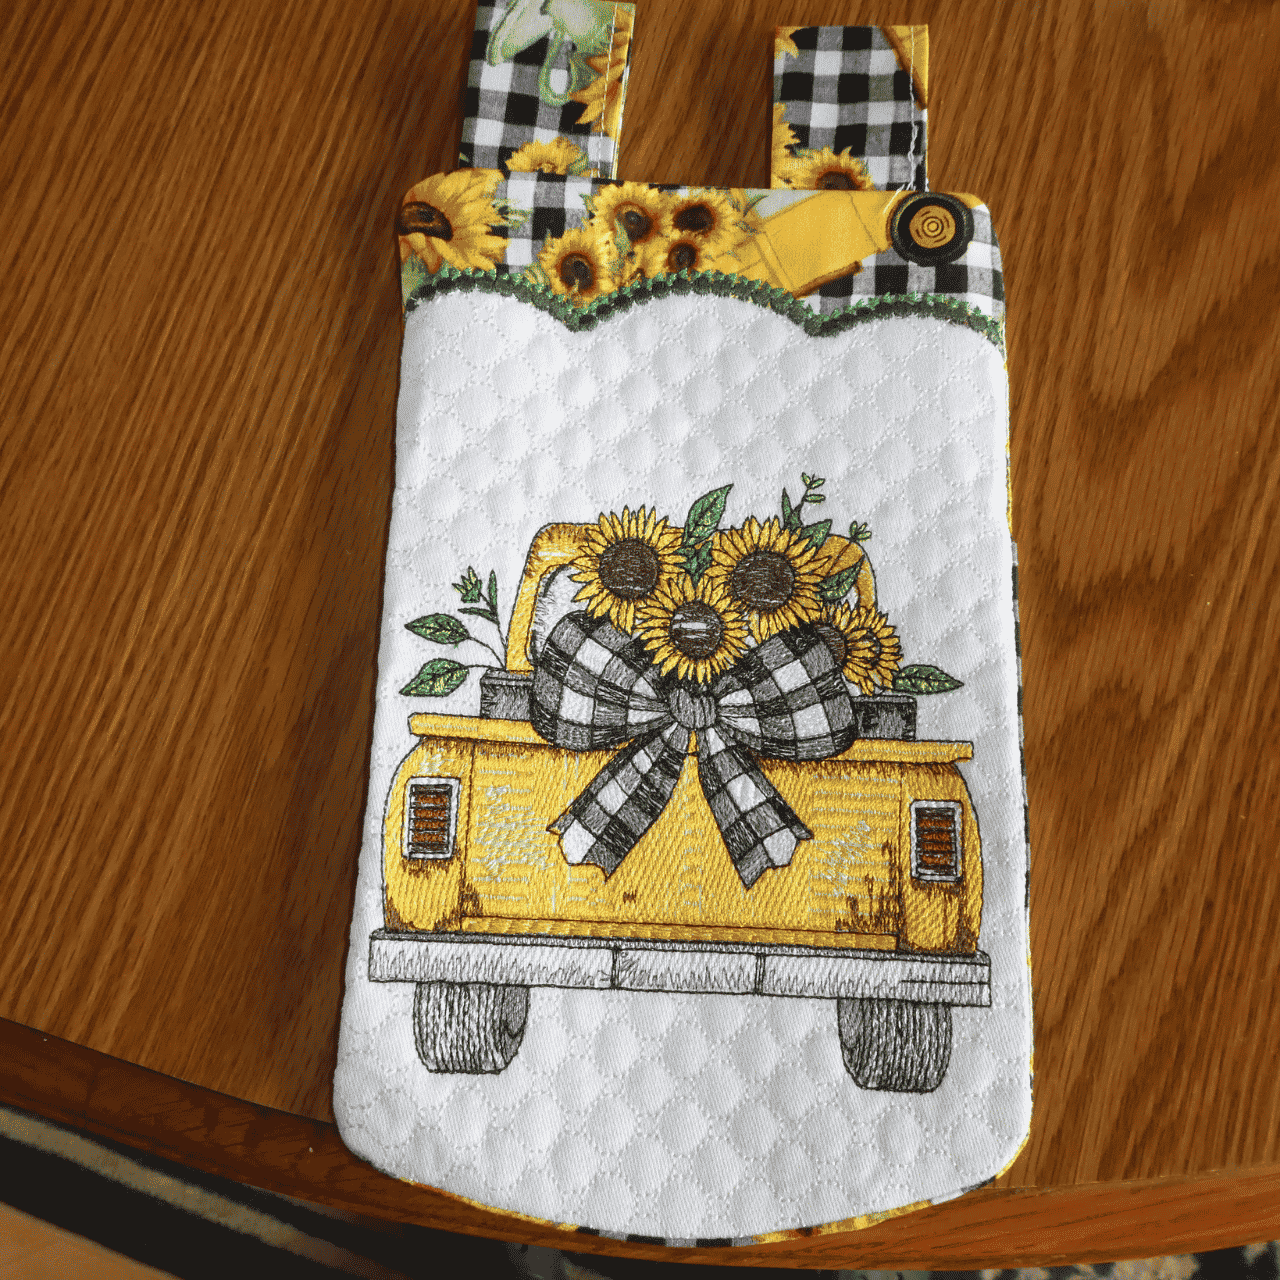
Had fun stitching this out. Love the quality of design. Stitched out perfectly.
Sunflower Retro TruckAwesome! Used this on a gift bag - the gift was a drone so the design was perfect. Stitched out perfectly. A winner.
Sassy Sparkles Donkey Quote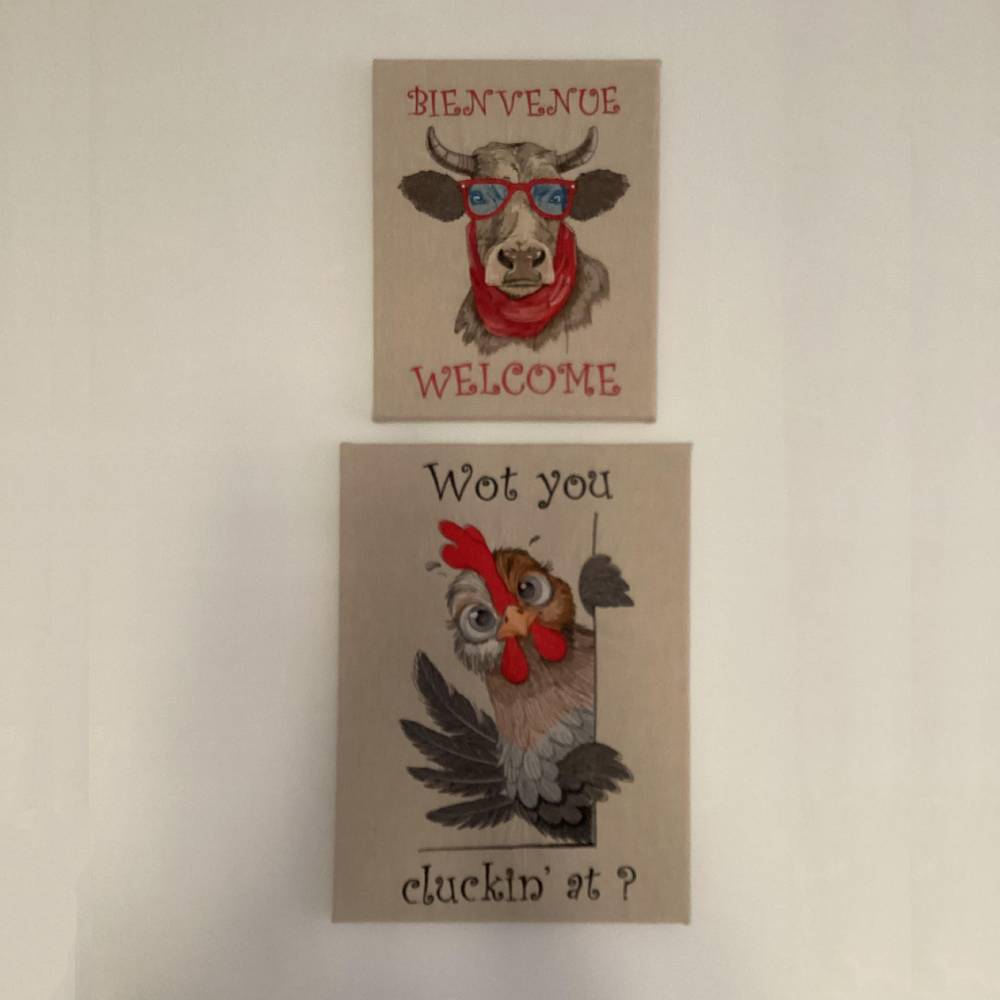
Love this design. We’re renovating at the moment, we wanted something different, I did these for opposite the front door.
Peeking Farm Chicken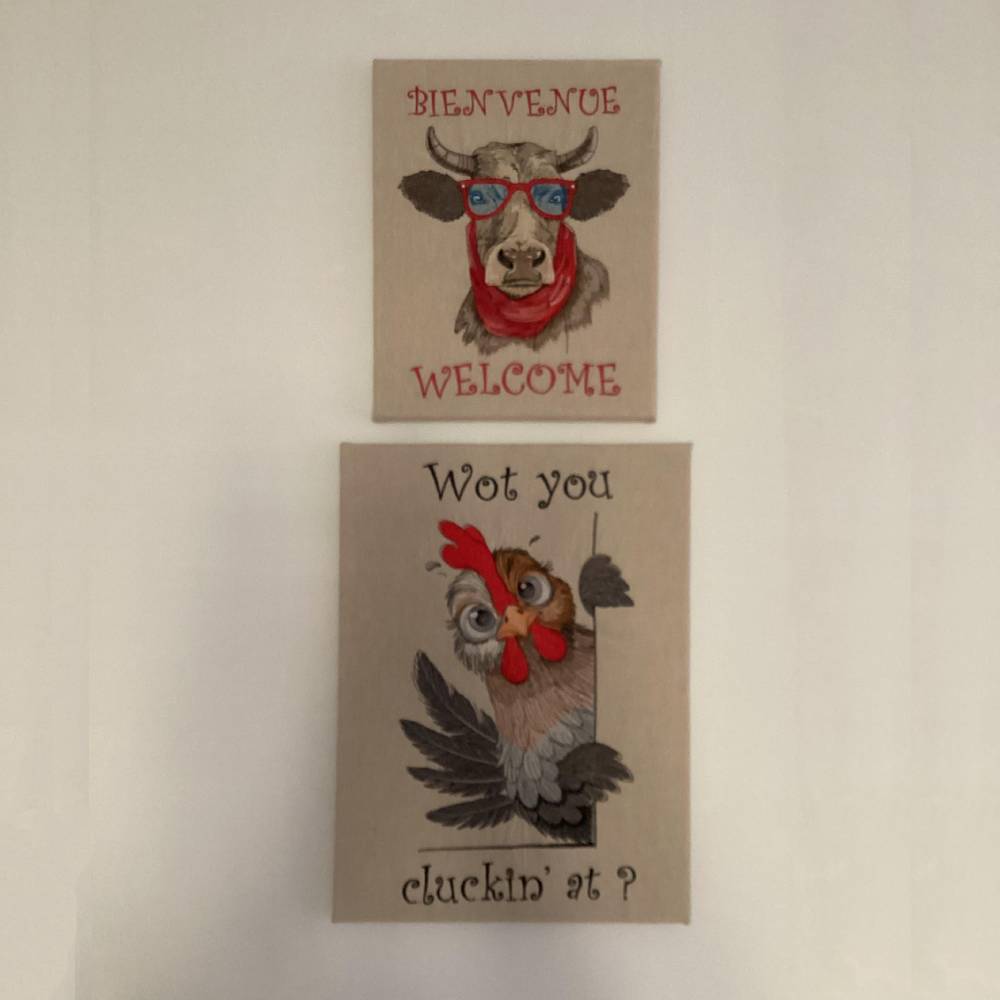
We’re renovating at the moment, we wanted something different, I did these for opposite the front door. Great design.
Funny Cow With Sunglasses
Write a review
Only customers who have purchased this design can leave a review.
Q1: Does this project require a specific needle?
An 80/12 universal embroidery needle usually works best for Daisy Flower FSL. If you are working on a very thin or delicate base fabric, try sizing down to a smaller needle for cleaner stitch placement.
Q2: What type of stabilizer should I use for this design?
Because the pattern is freestanding, you will need a water-soluble stabilizer to support the stitches while they form the shape. Simply rinse away the excess once your machine is finished.
Q3: Can I change the size of the Daisy Flower FSL?
We advise against resizing the pattern by more than 10%. Scaling it significantly can alter the stitch density and cause the lacework to come apart after you remove the stabilizer.
Q4: How should I press the finished embroidery?
Yes, dear! You can press the pattern by using a warm iron on the reverse side. Always place a pressing cloth down first to prevent the thread from melting under direct heat.
Q5: Where can I find the files for the pattern after I pay?
Your files are stored directly in your account. Just log in, head to your download section, and you will see the full folder ready for your machine.